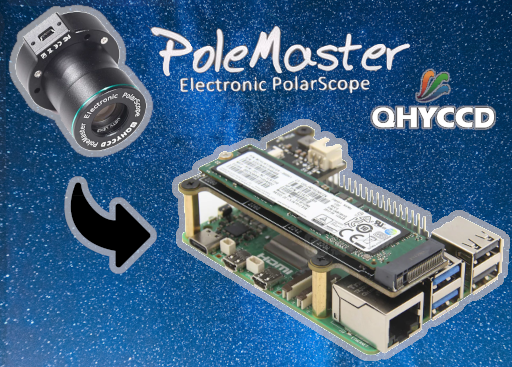
The QHYCCD PoleMaster is a popular polar alignment tool for astronomers, offering precise and quick alignment of an equatorial mount to the celestial pole. Running it on a Raspberry Pi 5 is a fantastic way to create a portable, lightweight system for your astronomy rig. Here’s a step-by-step guide to installing the PoleMaster software on a Raspberry Pi 5.
This article describes a procedure to install software on a Raspberry Pi 5 with 8G RAM running Raspberry Pi OS (64-bit) (Debian v.12 bookworm) booted directly from a 1TB NVMe SSD PCIe drive. This procedure may work for other configurations, so please do let us know if it does, or tell us about any issues you faced and your configuration. Thanks!
Prerequisites
- Raspberry Pi 5 board with Raspberry Pi OS (or any other compatible operating system) installed and configured.
- For the best possible performance, check out how to Turbocharge Your Raspberry Pi 5: Booting from NVMe SSD.
- A QHY PoleMaster device.
- Stable internet connection for downloading software packages.
- Basic familiarity with the Raspberry Pi environment, including how to open a terminal and run commands.
Step 1: Prepare Your Raspberry Pi 5
First, make sure that your Raspberry Pi OS is up-to-date. Open a terminal window and run the following commands:
sudo apt update && sudo apt upgrade
This will ensure that all the software packages are current, which helps avoid any compatibility issues later.
Step 2: Download and Install the PoleMaster Software
QHYCCD provides Linux versions of their PoleMaster software. The Raspberry Pi 5 is based on ARM 64 architecture, so we will use the ARM 64 version packaged for Ubuntu:
cd ~/Downloads
wget https://www.qhyccd.com/file/repository/latestSoftAndDirver/Soft/PoleMaster_QtforArm64Ubuntu_V21.05.17.zip
Extract the zip file:
unzip PoleMaster_QtforArm64Ubuntu_V21.05.17.zip
This command extracts the Debian package file and installs it as follows:
sudo dpkg -i PoleMaster_Qt-for-Arm64-Ubuntu-21.05.17.0.deb
Once installed, the PoleMaster application is available from the desktop menu in the Education folder. For now, you must connect and recognise the PoleMaster camera for the application to work, which requires the QHYCCD SDK (Software Development Kit).
Step 3: Download and Install the QHYCCD SDK
The PoleMaster software requires the QHYCCD SDK (Software Development Kit) to interact with the hardware. QHY provides SDK versions compatible with Raspberry Pi’s ARM 64 architecture. Download the latest SDK for ARM 64 architectures, which at the time of writing is the 24.08.01 version:
cd ~/Downloads
wget https://www.qhyccd.com/file/repository/publish/SDK/240801/sdk_Arm64_24.08.01.tgz
Extract the SDK:
tar -xzvf sdk_Arm64_24.08.01.tgz
Run the installation script:
cd sdk_Arm64_24.08.01
sudo bash ./install.sh
The installation script places the camera firmware files into the system folders to support detection of the PoleMaster (and other QHY) camera when plugged in.
The installation script also places udev rules that set the USB permissions to allow the camera to be used by non-root users. Reload these rules to enable them:
sudo udevadm control --reload-rules
Step 4: Run PoleMaster
With everything installed, you can now run the PoleMaster software:
PoleMaster
You should now see the PoleMaster interface, and the software should recognize the PoleMaster camera if you connect it via USB:

Troubleshooting Tips
- If the PoleMaster software doesn’t start, check that you have installed all dependencies and libraries correctly.
- If you experience camera detection issues, verify the USB connection and permissions. Run
dmesg | grep usbto check if the PoleMaster is recognized at the system level. - Running the software as
sudocan sometimes help bypass permission issues, but it’s best to configureudevrules properly.
Conclusion
With the Raspberry Pi 5, you now have a portable and efficient solution for polar aligning your telescope using the QHYCCD PoleMaster. The above guide walks you through installing and configuring the necessary software, ensuring your Pi is ready for the next stargazing session.
Happy stargazing, and clear skies!
