
FireCapture is a powerful software tool for planetary and lunar imaging. It fully supports the Raspberry Pi 5, providing an affordable and portable solution for amateur astronomers. In this guide, we’ll walk through the steps to install FireCapture on your Raspberry Pi 5. This will unlock its potential for capturing breath taking images of the night sky.
This article describes a procedure to install software on a Raspberry Pi 5 with 8G RAM running Raspberry Pi OS (64-bit) (Debian v.12 bookworm) booted directly from a 1TB NVMe SSD PCIe drive. This procedure may work for other configurations, so please do let us know if it does, or tell us about any issues you faced and your configuration. Thanks!
Prerequisites
- Raspberry Pi 5 board with Raspberry Pi OS (or any other compatible operating system) installed and configured.
- For the best possible performance, check out how to Turbocharge Your Raspberry Pi 5: Booting from NVMe SSD.
- Stable internet connection for downloading software packages.
- Basic familiarity with the Raspberry Pi environment, including how to open a terminal and run commands.
- A compatible CCD camera – the base installation for the Raspberry Pi 5 supports cameras from ZWO, QHY, Altair, Touptek/Omegon, Svbony, and PlayerOne. Alternatively, a dummy camera is available to support initial setup and configuration.
Step 1: Download FireCapture
Navigate to the download section of the FireCapture website and download the latest AARCH64 version of the software as a Debian package. We will use version v2.7.14 for this guide (firecapture_2.7.14_aarch64.deb).
Step 2: Install FireCapture
After completing the download, navigate to the directory where you downloaded the package and install it using the following command:
sudo dpkg -i firecapture_2.7.14_aarch64.deb
Step 3: Run FireCapture
After installing the package, launch FireCapture from the desktop menu or the command line:
cd /opt/FireCapture_v2.7/
./start.sh
Step 4: Configuration
Upon launching FireCapture, you may need to configure it according to your specific camera and telescope setup. Refer to the FireCapture documentation for detailed instructions on configuration options.

Step 5: Enjoy Capturing Images
With FireCapture successfully installed on your Raspberry Pi 5, you’re now ready to start capturing stunning images of planets, moons, and other celestial objects. Experiment with different settings, adjust exposure times, and explore the capabilities of your setup to capture the best possible images:

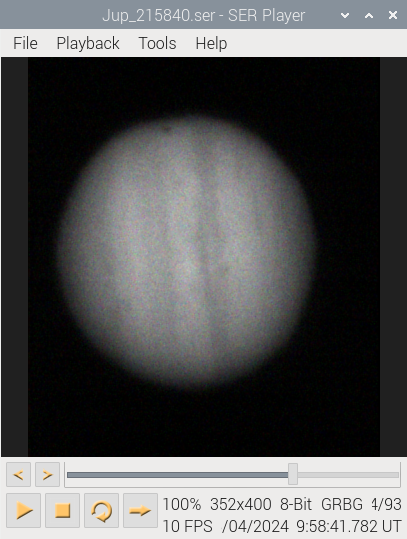
Step 6: Sequence Image Playback with SER-Player
FireCapture generates video files in both Audio Video Interleave (AVI) and Sequence Image (SER) formats. The latter is most commonly used when capturing for later stacking. Playback of SER format files is possible with SER-Player. Follow our guide Solar Image Sequencing: Installing SER-Player on a Raspberry Pi 5 to get SER-Player installed and running:
Conclusion:
Installing FireCapture on a Raspberry Pi 5 opens up exciting possibilities for amateur astronomers and astrophotography enthusiasts. By following the steps outlined in this guide, you can harness the power of this software on your Raspberry Pi. This will turn it into a versatile tool for capturing the wonders of the night sky. Whether you’re a seasoned astronomer or just starting out, FireCapture on Raspberry Pi offers an accessible solution for exploring the cosmos from your own backyard. Happy imaging!
Thanks for sharing, works like a charm !
To improve performance, I will upgrade tmy raspberry pi 5 to use NVMe with SSD soon.
CS
Ad
You’re welcome! Highly recommended to add the NVMe SSD and boot from it, performance is greatly improved and so much more storage 🙂