Stellarium, the popular open-source planetarium software, offers a captivating journey through the cosmos right from your computer. But did you know you can bring this experience to your Raspberry Pi 5 as well? In this guide, we’ll walk you through the steps to install Stellarium on your Raspberry Pi 5, unlocking a universe of celestial wonders right at your fingertips.
Raspberry Pi 5, with its enhanced performance and capabilities, makes for an ideal platform to run Stellarium. Whether you’re a budding astronomer, a space enthusiast, or just someone intrigued by the vastness of the universe, having Stellarium on your Raspberry Pi 5 opens up a world of educational and recreational possibilities.
This article describes a procedure to install software on a Raspberry Pi 5 with 8G RAM running Raspberry Pi OS (64-bit) (Debian v.12 bookworm) booted directly from a 1TB NVMe SSD PCIe drive. This procedure may work for other configurations, so please do let us know if it does, or tell us about any issues you faced and your configuration. Thanks!
Prerequisites
- Raspberry Pi 5 board with Raspberry Pi OS (or any other compatible operating system) installed and configured.
- For the best possible performance, check out how to Turbocharge Your Raspberry Pi 5: Booting from NVMe SSD.
- Stable internet connection for downloading software packages.
- Basic familiarity with the Raspberry Pi environment, including how to open a terminal and run commands.
Step 1: Prepare Your Raspberry Pi 5
Begin by ensuring that your Raspberry Pi 5 is up to date. Open a terminal or SSH session and run the following commands:
sudo apt update && sudo apt upgrade
This will update the package lists and upgrade any installed packages to their latest versions.
Step 2: Install Stellarium
Once the package lists are updated, you can install Stellarium by executing the following command:
sudo apt install stellarium
Step 3: Launch Stellarium
With Stellarium successfully installed, you can launch it either from the applications menu or by entering the following command in the terminal:
stellarium
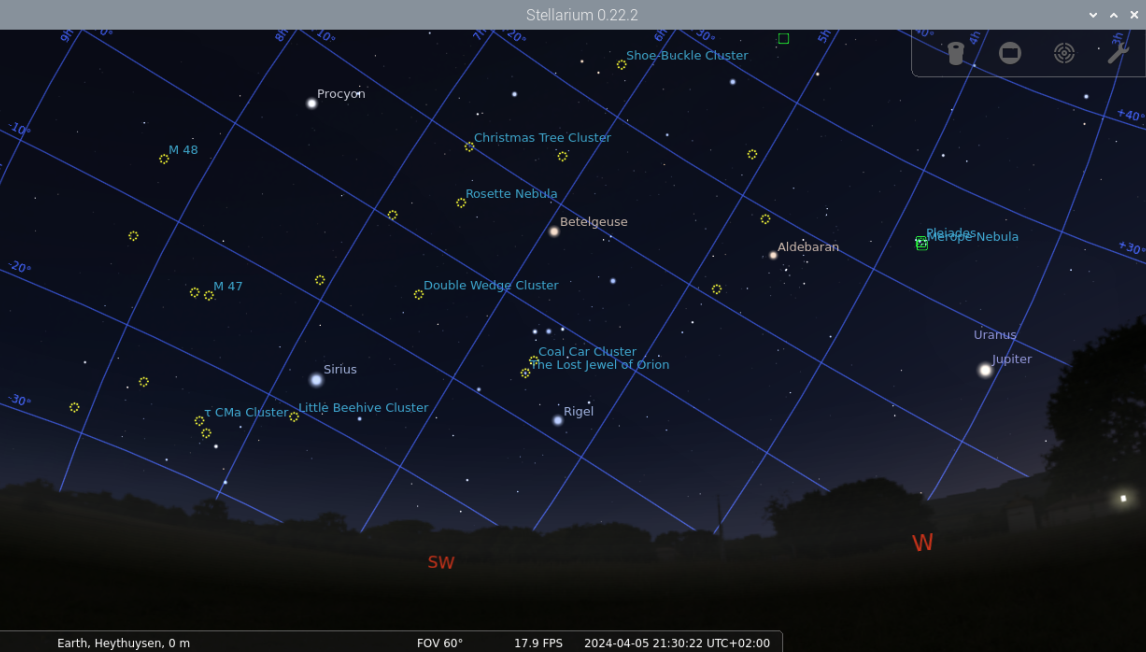
Step 4: Explore the Cosmos
Congratulations! You now have Stellarium up and running on your Raspberry Pi 5. Take some time to familiarize yourself with the user interface and explore the multitude of features Stellarium has to offer. From observing constellations to tracking satellites, the universe is yours to discover.
Additional Tips:
- Customize Your Experience: Stellarium offers various customization options, allowing you to tailor the experience to your preferences. Experiment with different sky cultures, landscapes, and viewing perspectives to enhance your journey through the cosmos.
- Stay Updated: Keep Stellarium and your Raspberry Pi OS updated to ensure you have access to the latest features and improvements.
- Join the Community: Engage with the Stellarium community to share your experiences, seek assistance, and stay updated on developments within the project.
Conclusion:
Installing Stellarium on your Raspberry Pi 5 transforms it into a powerful tool for exploring the wonders of the universe. Whether you’re a seasoned astronomer or just beginning your journey into stargazing, Stellarium provides an immersive and educational experience that is sure to captivate and inspire. So, grab your Raspberry Pi 5, install Stellarium, and embark on an unforgettable journey through the cosmos.
I have sterralium installed on Linux arca-desktop 6.8.0-1006-raspi #6-Ubuntu SMP PREEMPT_DYNAMIC Mon Jun 17 11:30:51 UTC 2024 aarch64 aarch64 aarch64 GNU/Linux but I have a problem that the work bars and the bottom left horizon nor the top right nor the vertical left and try to start with
stellarium –reset-sky
stellarium –reset-viewer
stellarium –reset-ini
stellarium –safe-mode,,,
I don’t know if anyone can help,, thanks and regards.
Installing on RPI4/RPi5 Trixie 64bit does not display the menu. Help Dialog (F1 key) or other dialogs are also not displayed. Fresh OS installation.