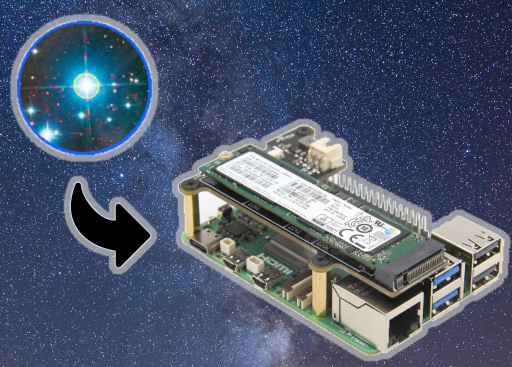
StellarSolver serves as a cross platform SEP-based star extractor and Astrometry.net based astrometric solver that helps you align stars and solve plates in astrophotography. The developers created it as an internal library for use in programs like KStars, and it also includes a test utility that acts as a front end to a number of common plate solving solutions, both internal and online. In this guide, we will show you how to install the StellarSolver testing utility on your Raspberry Pi 5.
We install supported internal plate solvers separately, and we provide guides for those as well:
Supported external plate solvers include:
- Astrometry.Net (requires API key)
- Network variants of Astrometry.Net
Our Guide To Plate Solving Astronomical Images mentions all of these solvers and several others.
This article describes a procedure to install software on a Raspberry Pi 5 with 8G RAM running Raspberry Pi OS (64-bit) (Debian v.12 bookworm) booted directly from a 1TB NVMe SSD PCIe drive. This procedure may work for other configurations, so please do let us know if it does, or tell us about any issues you faced and your configuration. Thanks!
Prerequisites
- Raspberry Pi 5 board with Raspberry Pi OS (or any other compatible operating system) installed and configured.
- For the best possible performance, check out how to Turbocharge Your Raspberry Pi 5: Booting from NVMe SSD.
- Stable internet connection for downloading software packages.
- Basic familiarity with the Raspberry Pi environment, including how to open a terminal and run commands.
Step 1: Prepare Your Raspberry Pi 5
Begin by ensuring that your Raspberry Pi 5 is up to date. Open a terminal or SSH session and run the following commands:
sudo apt update && sudo apt upgrade
This will update the package lists and upgrade any installed packages to their latest versions.
Step 2: Build StellaSolver from Source Code
To start the StellarSolver build process, we first need to install some prerequisites:
sudo apt install git cmake qtbase5-dev libcfitsio-dev libgsl-dev wcslib-dev
Create a project directory and download the source into it:
mkdir ~/Projects
cd ~/Projects
Download the source code from the StellarSolver repository on GitHub. We will use a shallow clone to speed things up and save space:
git clone --depth 1 https://github.com/rlancaste/stellarsolver.git
Build the code:
cd ~/Projects/stellarsolver
mkdir tmp
cd tmp
cmake -DCMAKE_INSTALL_PREFIX=/usr -DCMAKE_BUILD_TYPE=RelWithDebInfo -DBUILD_TESTER=ON ..
make -j4
sudo make install
Step 3: Verify Installation
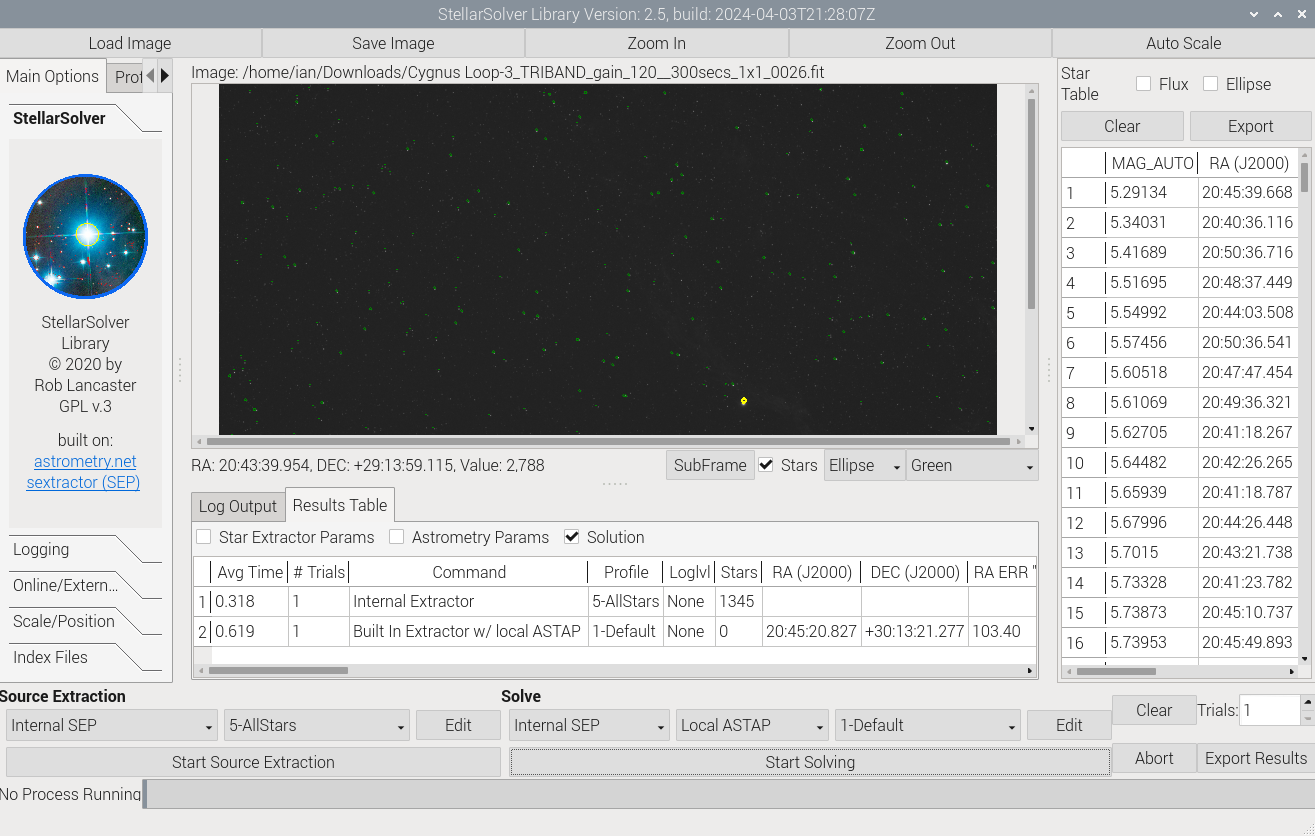
To verify that you have successfully installed StellaSolver, you can launch it from the desktop environment menu or from a terminal by typing:
StellarSolverTester
This should launch the StellaSolver application:
Step 4: Configure Plate Solvers
StellarSolver’s main options panel is where the supported source extractor and plate solver solutions are configured. The default view shows the Linux default paths, with a drop-down to change the paths more familiar with KStars and other platform types. The paths can also be entered manually. If you were following our guides for ASTAP and a local installation of Astrometry.Net then the paths are as follows:
For online solvers, you need to provide the URL to the solver host, and an API key for nova.astrometry.net, which is obtained when creating a profile on that site.
Conclusion:
Congratulations! You’ve installed StellarSolver on your Raspberry Pi 5! Now you can easily align stars and solve plates for your astrophotography. Whether you’re taking pictures of galaxies or enjoying the Milky Way, StellarSolver will help you make the most of your astronomy adventures. So, grab your Raspberry Pi and start exploring the stars. Happy stargazing!