ASTAP (Astronomical Image Processing and Star Alignment) is a versatile and powerful software tool designed for astronomical image processing and star alignment, produced by the authors of HNSKY. It enables users to accurately align and stack astrophotography images, perform plate solving, and enhance the quality of astronomical images. Whether you’re capturing images of distant galaxies or observing planetary detail, ASTAP is an invaluable asset for amateur and professional astronomers alike. In this guide, we’ll walk you through the process of installing ASTAP on your Raspberry Pi 5, transforming it into a powerful tool for celestial observation and astrophotography.
This article describes a procedure to install software on a Raspberry Pi 5 with 8G RAM running Raspberry Pi OS (64-bit) (Debian v.12 bookworm) booted directly from a 1TB NVMe SSD PCIe drive. This procedure may work for other configurations, so please do let us know if it does, or tell us about any issues you faced and your configuration. Thanks!
Prerequisites
- Raspberry Pi 5 board with Raspberry Pi OS (or any other compatible operating system) installed and configured.
- For the best possible performance, check out how to Turbocharge Your Raspberry Pi 5: Booting from NVMe SSD.
- Stable internet connection for downloading software packages.
- Basic familiarity with the Raspberry Pi environment, including how to open a terminal and run commands.
Step 1: Prepare Your Raspberry Pi 5
Begin by ensuring that your Raspberry Pi 5 is up to date. Open a terminal or SSH session and run the following commands:
sudo apt update && sudo apt upgrade
This will update the Advanced Packaging Tool (APT) package lists and upgrade any installed packages to their latest versions.
Step 2: Download Latest Debian Package
Next, you’ll need to download the latest ASTAP Debian package. Visit the official ASTAP software download page and select the ARM-64 (aarch64) package, which links to a Sourceforge download page. The version we downloaded is 2024.03.27, 64-bit.
Step 3: Install the Debian Package
Once the Debian package is downloaded, navigate to the directory where it’s located, then use the command line to install it:
sudo dpkg -i astap_aarch64.deb
During the installation process, you may encounter dependencies that are not met. If so, run the following command to fix any missing dependencies:
sudo apt install -f
Step 4: Downloading Star Catalogues
ASTAP requires star catalogues to support astrometric plate solving, and for image alignment during the stacking process. A number of star catalogues are available and should be carefully selected according to the size of the field of view you will use. The smallest catalogue is D05 and the largest is D80. A complete list of available catalogues can be found on the ASTAP website.
For this guide, we will install the D05 catalogue, so we need to obtain the D05 installer Debian package from the Sourceforge download page. Once the Debian package is downloaded, navigate to the directory where it’s located, then use the command line to install it:
sudo dpkg -i d05_star_database.deb
Repeat this procedure for each additional star catalogue needed.
Step 5: Launching ASTAP
With ASTAP now installed, and one or more star catalogues added, it is time to launch. The installation processes added a menu item to the desktop environment, or it can be launched from a terminal:
/opt/astap/astap
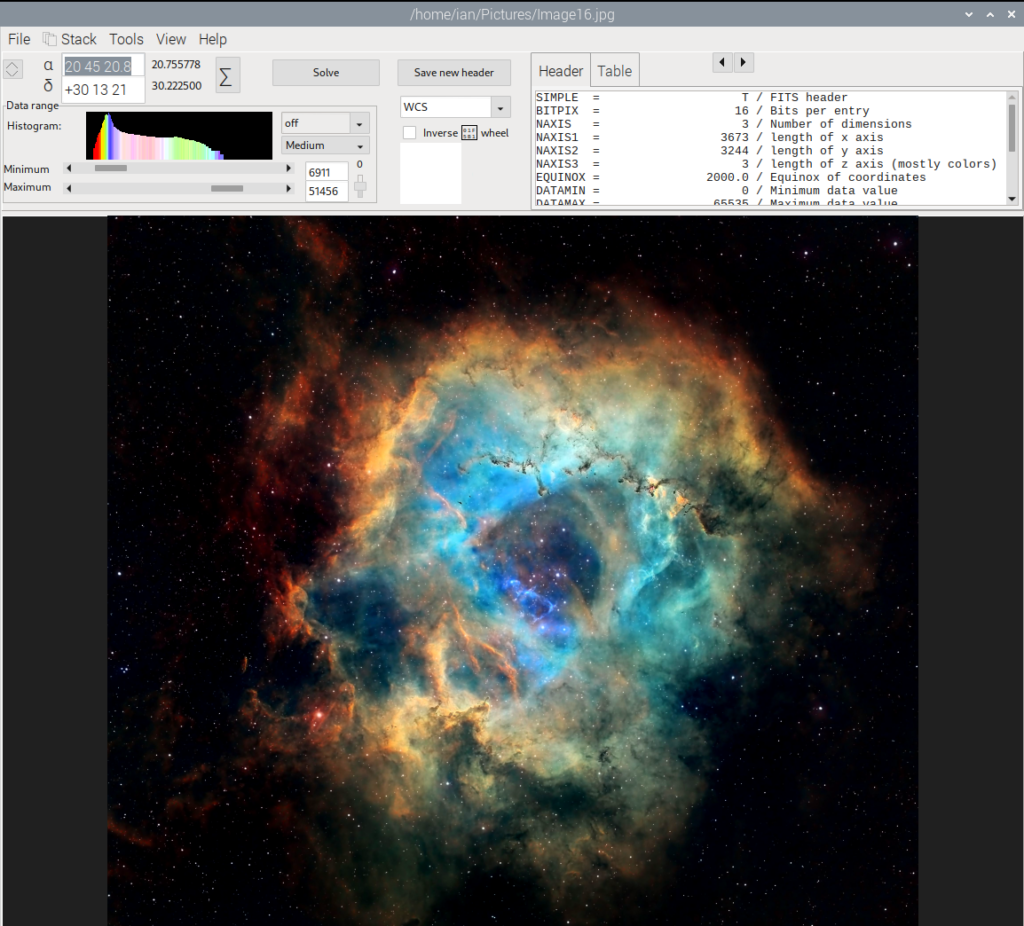
You’re now ready to start uploading your astrophotographs and begin plate solving:
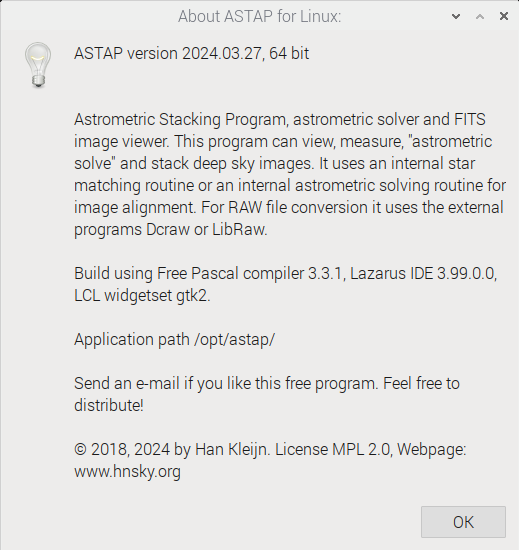
The About form shows the version information:
Step 6: ASTAP Command Line Interface (CLI)
ASTAP can be integrated with a number of different applications that support plate solving. These applications rely on the command line interface (CLI) version of ASTAP, so we can install this alongside ASTAP. The official Debian 12 (bookworm) repository provides an outdated version, so we will use the version from the official ASTAP software download page and select the ARM-64 (aarch64) package, which links to a Sourceforge download page. The version we downloaded is 2024.02.07.
Once the package is downloaded, navigate to the directory where it’s located, then use the command line to extract it:
cd ~/Downloads
unzip astap_command-line_version_Linux_aarch64.zip
This extracts the command line program, which needs to be moved to the local command path:
sudo mv ./astap_cli /usr/bin
We can check the ASTAP CLI version with this command:
astap_cli
ASTAP astrometric solver version CLI-2024.02.07
(C) 2018, 2024 by Han Kleijn. License MPL 2.0, Webpage: www.hnsky.org
Conclusion:
With ASTAP at your disposal, you now have the tools you need to delve into the mysteries of the universe, align and stack astrophotography images, and enhance your astronomical observations. Whether you’re a seasoned astrophotographer or a curious beginner, ASTAP and your Raspberry Pi open up a world of possibilities for exploring the cosmos. Happy stargazing!