The Raspberry Pi 5, with its improved processing power and versatility, opens up a world of possibilities for astrophotography enthusiasts. However, the setup and administration can be daunting for anyone less familiar with Linux terminals, command lines, and remote desktop utilities such as VNC and RDP. A popular solution for this is Webmin, a web-based system administration tool. It simplifies the management of your Raspberry Pi 5 through a graphical user interface. In this guide, we’ll walk you through the process of installing Webmin on Raspberry Pi 5. This will make system administration tasks a breeze.
This article describes a procedure to install software on a Raspberry Pi 5 with 8G RAM running Raspberry Pi OS (64-bit) (Debian v.12 bookworm) booted directly from a 1TB NVMe SSD PCIe drive. This procedure may work for other configurations, so please do let us know if it does, or tell us about any issues you faced and your configuration. Thanks!
Prerequisites
- Raspberry Pi 5 board with Raspberry Pi OS (or any other compatible operating system) installed and configured.
- For the best possible performance, check out how to Turbocharge Your Raspberry Pi 5: Booting from NVMe SSD.
- Stable internet connection for downloading software packages.
- Basic familiarity with the Raspberry Pi environment, including how to open a terminal and run commands.
Step 1: Download and Run the Webmin Repository Setup Script
The Webmin package is downloaded from a repository that must be added to the repository sources list. The package also needs a signing key. Webmin provides a script to setup the repository:
cd ~
wget https://raw.githubusercontent.com/webmin/webmin/master/setup-repos.sh
sudo sh setup-repos.sh
Answer with a Y to setup the Webmin repository:
Setup repository? (y/N) y
  Downloading Webmin key ..
  .. done
  Installing Webmin key ..
  .. done
  Setting up Webmin repository ..
  .. done
  Cleaning repository metadata ..
  .. done
  Downloading repository metadata ..
  .. done
Webmin package can now be installed using apt-get install --install-recommends webmin command.
Step 2: Prepare Your Raspberry Pi 5
Ensure that your Raspberry Pi 5 is up to date. Open a terminal or SSH session and run the following commands:
sudo apt update && sudo apt upgrade
This will update the package lists and upgrade any installed packages to their latest versions.
Step 3: Install Webmin
To install Webmin, run the following command:
sudo apt install --install-recommends webmin
This command will download and install the latest stable Webmin application along with any necessary dependencies.
Step 4: Access Webmin Using a Web Browser
To access the Webmin service, point your web browser to port 10000 at your Raspberry Pi 5’s host name or localhost if accessing from a browser directly installed, and using the SSL enabled service type e.g.:
https://orion.local:10000
The default Webmin service employs a certificate that your web browser will reject since it is only intended to be used for initial installation:
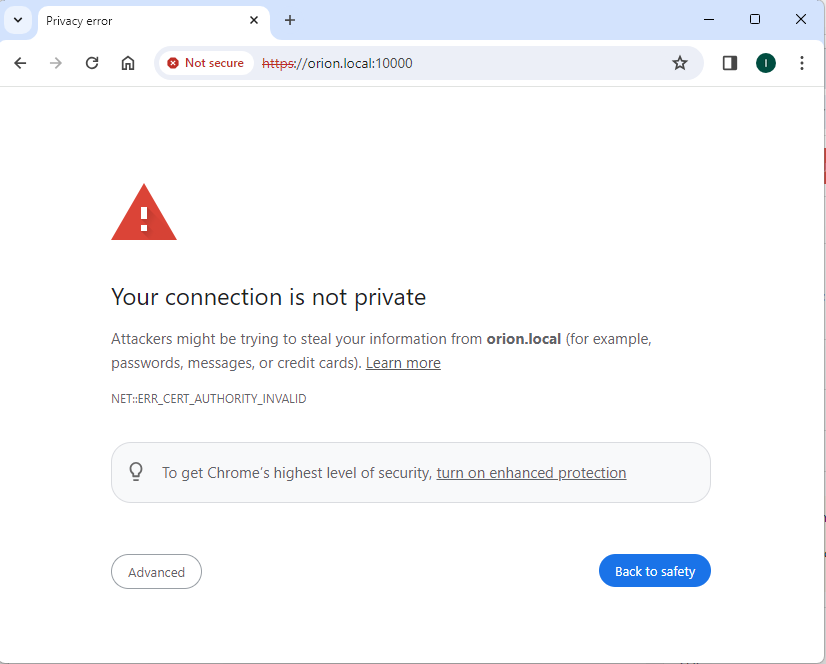
You will need to accept the browser warning and connect anyway, and the address bar will show the connection as being insecure, which is fine for now:
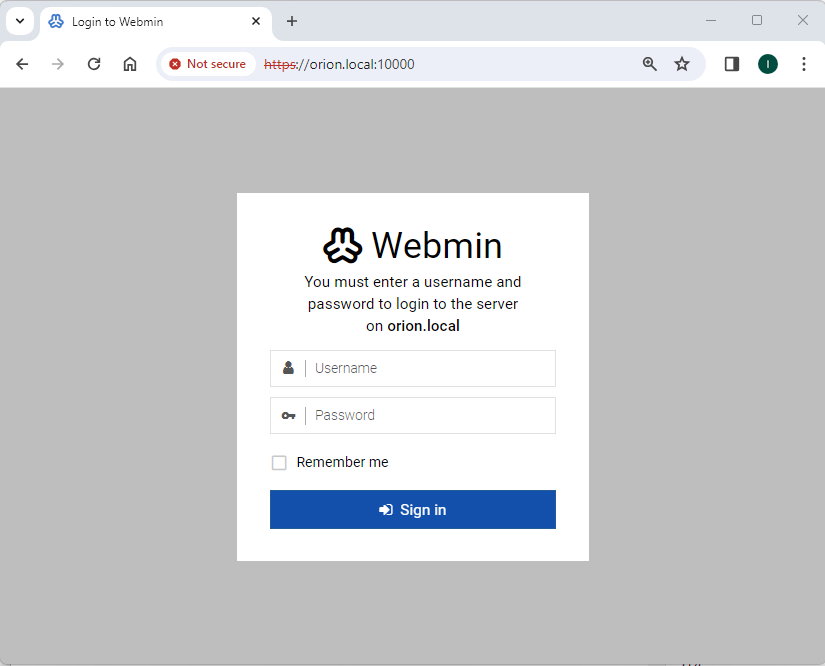
You can now login using the same username and password that you use to access your Raspberry Pi 5 directly. Once logged in, you are presented with main Webmin landing page. You now have two choices to get rid of that SSL warning:
- Disable SSL, which means that hereafter you will access the Webmin service using a regular web address (http).
- Install and configure a valid SSL certificate and private key.
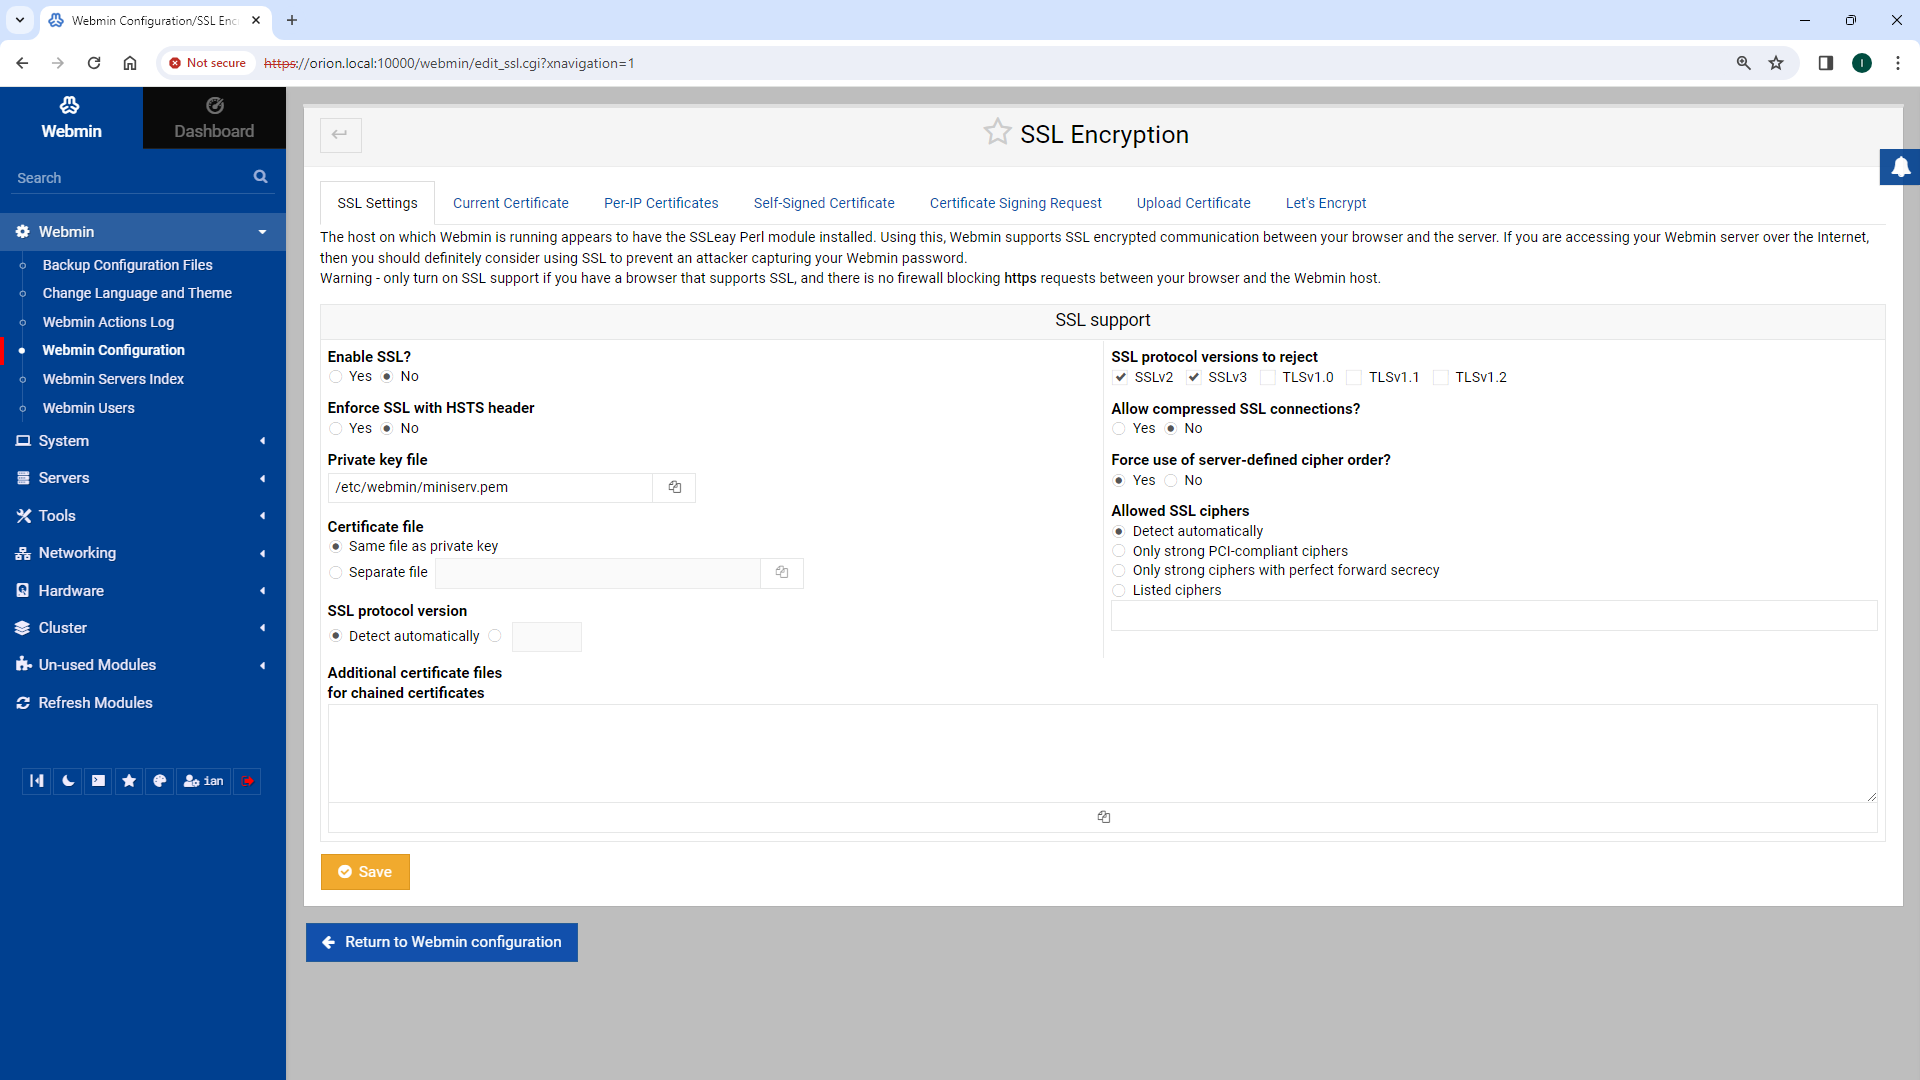
For now, we will just go with option 1 and disable SSL, so first expand the Webmin cog icon in the sidebar menu, the click on Webmin Configuration, click on the SSL Encryption tile, and set the Enable SSL? option to No.
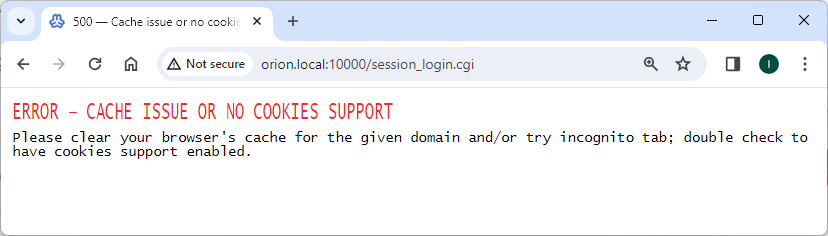
Now hit the Save button to update the configuration, at which point the page is redirected back to the login page using the regular non-SSL address. You will then likely receive a browser cache error, so just go ahead and clear your browser history to remove the cache then close and reopen your browser:
Now you should not see the SSL error anymore. After successfully logging in again, you’ll be greeted by the Webmin dashboard, where you can start managing your Raspberry Pi 5 and its services using the intuitive web interface.

Conclusion:
With Webmin installed on your Raspberry Pi 5, you now have a powerful tool at your disposal for system administration tasks. Whether you’re managing users, configuring network settings, or monitoring system resources, Webmin simplifies the process with its user-friendly interface.
unfortunately the article didn’t explain how to acquire to get the repository key
Hi Jeroen, thanks for the feedback, the issue is due to a recent change in the way Webmin acquires the signing key, which is now done by running Webmin’s own repository setup script. I updated the instructions to include this step. All the best, Ian