For astronomy enthusiasts, having access to powerful planetarium software like SkyChart/Carte du Ciel can greatly enhance the stargazing experience. With its rich feature set and intuitive interface, SkyChart/Carte du Ciel enables users to explore the night sky, identify celestial objects, and plan observing sessions with ease. In this guide, we’ll walk you through the steps to install SkyChart/Carte du Ciel on your Raspberry Pi 5, bringing the wonders of the universe to your fingertips.
This article describes a procedure to install software on a Raspberry Pi 5 with 8G RAM running Raspberry Pi OS (64-bit) (Debian v.12 bookworm) booted directly from a 1TB NVMe SSD PCIe drive. This procedure may work for other configurations, so please do let us know if it does, or tell us about any issues you faced and your configuration. Thanks!
Prerequisites:
Before diving into the installation process, ensure you have the following:
- Raspberry Pi 5 board with Raspberry Pi OS installed and configured.
- For the best possible performance, check out how to Turbocharge Your Raspberry Pi 5: Booting from NVMe SSD.
- Stable internet connection for downloading software packages.
- Basic familiarity with the Raspberry Pi environment, including how to open a terminal and run commands.
Step 1: Add the SkyChart/Carte du Ciel Repository to the Repository Sources
The SkyChart/Carte du Ciel package is downloaded from a repository that must be added to the Advanced Packaging Tool (APT) repository sources list. We start by installing the package signing key, which we need to obtain and prepare manually using the following commands:
cd ~/Downloads
wget -O 8B8B57C1AA716FC2.key "http://keyserver.ubuntu.com/pks/lookup?op=get&search=0x8B8B57C1AA716FC2"
gpg --no-default-keyring --keyring ./skychart-temp-keyring.gpg --import 8B8B57C1AA716FC2.key
gpg --no-default-keyring --keyring ./skychart-temp-keyring.gpg --export --output skychart.gpg
rm skychart-temp-keyring.gpg 8B8B57C1AA716FC2.key
sudo mkdir -p /usr/local/share/keyrings/
sudo mv skychart.gpg /usr/local/share/keyrings/
The repository source definition is then added as a new file in the sources lists directory using the following command:
sudo nano /etc/apt/sources.list.d/skychart.list
Add the stable package repository location to the file:
deb [signed-by=/usr/local/share/keyrings/skychart.gpg] http://www.ap-i.net/apt stable main
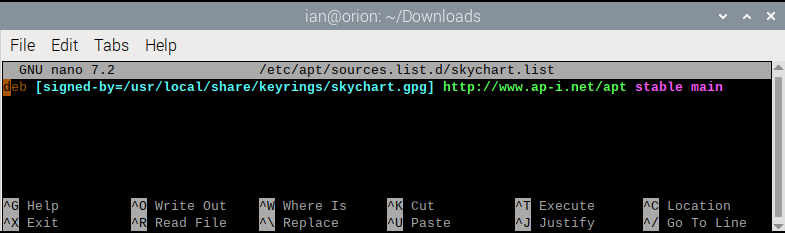
Save and exit with Control + O and Control + X.
Step 2: Update Your Raspberry Pi
With the repository source list updated, the next step is to update the packages from the repositories. Open a terminal window and run the following commands:
sudo apt update && sudo apt upgrade
This will update the package lists and upgrade any installed packages to their latest versions, including the newly added SkyChart/Carte du Ciel package repository.
Step 3: Install SkyChart/Carte du Ciel
To install SkyChart/Carte du Ciel, run the following command:
sudo apt install skychart
This command will download and install the latest stable SkyChart/Carte du Ciel application along with any necessary dependencies.
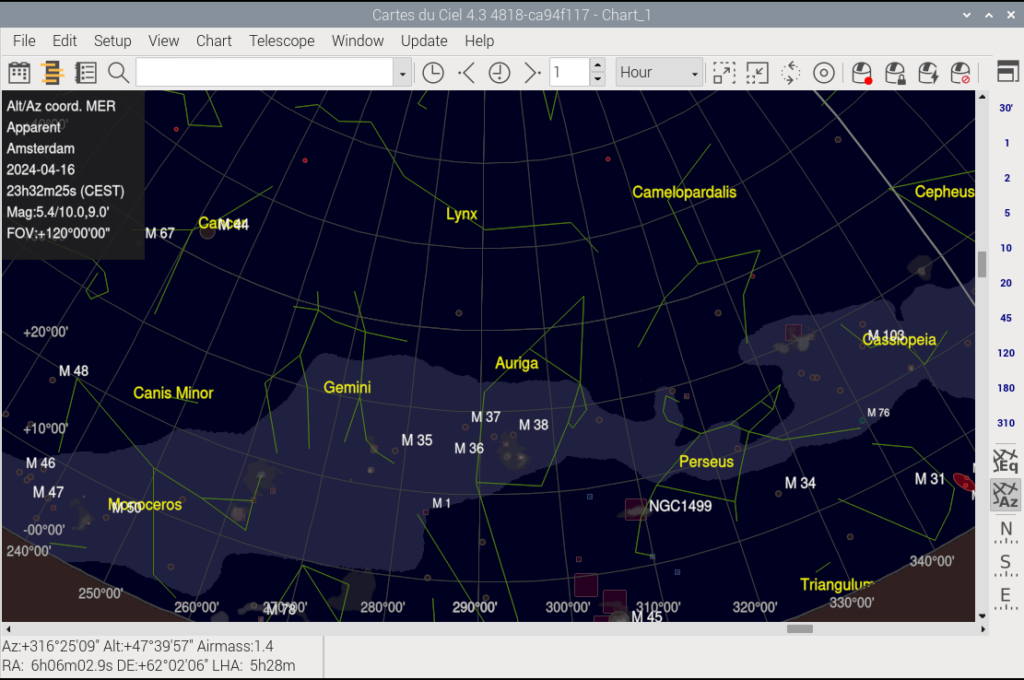
Step 4: Launch SkyChart/Carte du Ciel
The application is started from the desktop menu or from the command line:
skychart
Step 5: Install Complimentary Packages for SkyChart/Carte du Ciel
The SkyChart/Carte du Ciel software is part of a suite of software for astronomical observation from the same author. Other packages from the suite are installed just as easily:
sudo apt install indistarter
This command will download and install a GUI utility for working with a locally installed instance of INDI (Instrument Neutral Distributed Interface).

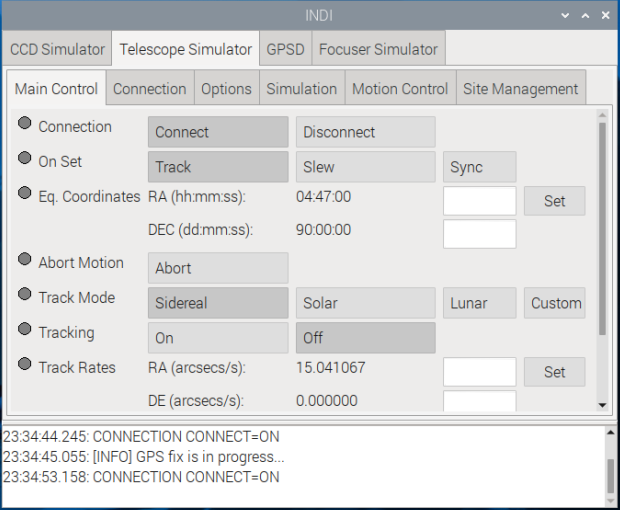
If you haven’t already installed INDI, you can do so by following our guide Harnessing Astronomy with Raspberry Pi 5: Installing INDI for Stellar Exploration.
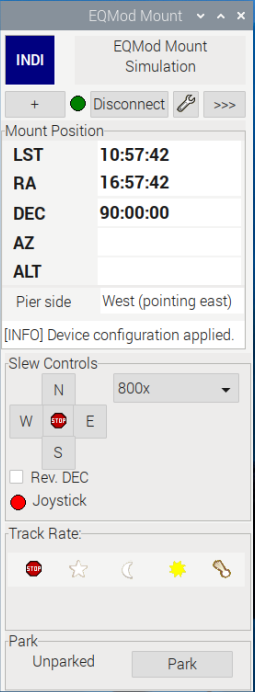
sudo apt install eqmodgui
This command will download and install a GUI utility for controlling an Equatorial Mount through the INDI Eqmod telescope driver. It provides easily setup of the main parameters required to use this driver and manage the alignment data.
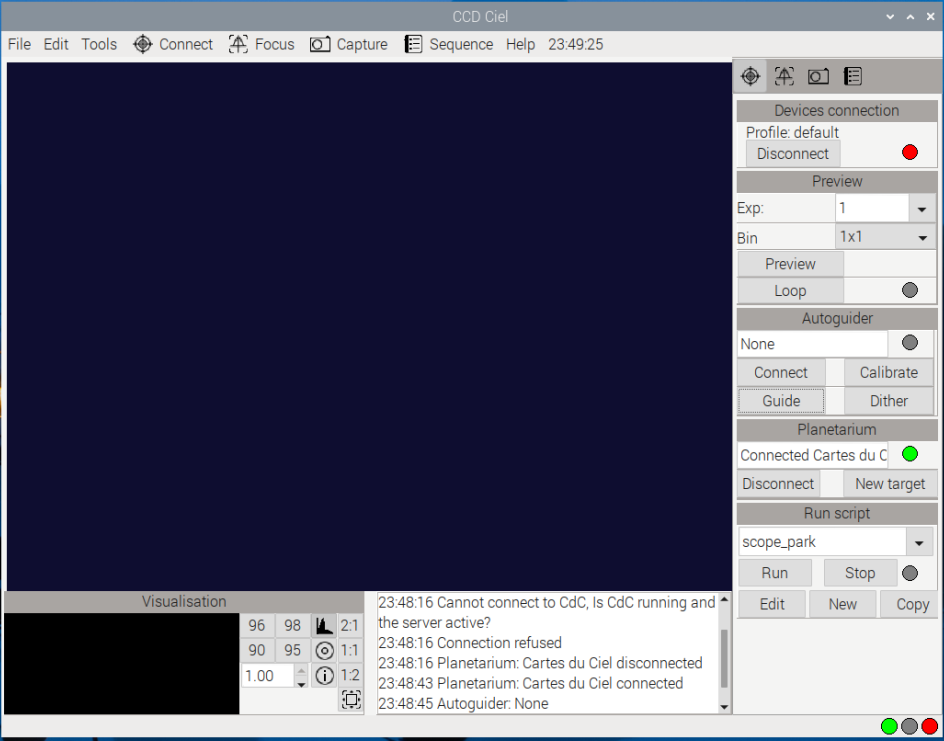
sudo apt install ccdciel
This command will download and install a utility for controlling a CCD camera, focuser, filter wheel, and telescope mount. It includes all the features required to perform digital imaging CCD observation of celestial objects.
Step 6: Enjoy Exploring the Universe
With SkyChart/Carte du Ciel software suite installed on your Raspberry Pi 5, you now have a powerful tool for discovering and exploring the wonders of the universe. Use the intuitive interface to navigate the night sky, identify celestial objects, and plan your observing sessions with precision.
Conclusion:
By installing SkyChart/Carte du Ciel software suite i on your Raspberry Pi 5, you’ve transformed your tiny computer into a sophisticated planetarium, bringing the beauty and mystery of the cosmos within reach. Whether you’re a seasoned astronomer or a curious beginner, SkyChart/Carte du Ciel provides the tools you need to unlock the secrets of the universe. So grab your telescope, set up your Raspberry Pi 5, and embark on an unforgettable journey through the stars!
Lekker werk. Hier had ik wel wat aan.
Hint, als je bij een install -Y erbij doet, gaat de installatie in een keer door.
Klein scriptje bakken, en je bent het heertje
bedankt voor de tip. de Y-schakelaar is een kwestie van keuze, en een script is altijd handig als je niet wilt zien wat er gebeurt. maak je een script? dan willen wij het graag zien 🙂