
Gpredict is a powerful open-source satellite tracking and orbit prediction software widely used by amateur radio operators, satellite enthusiasts, and educational institutions. In this guide, we’ll walk through the step-by-step process of installing Gpredict from its source code on your Raspberry Pi 5.
This article describes a procedure to install software on a Raspberry Pi 5 with 8G RAM running Raspberry Pi OS (64-bit) (Debian v.12 bookworm) booted directly from a 1TB NVMe SSD PCIe drive. This procedure may work for other configurations, so please do let us know if it does, or tell us about any issues you faced and your configuration. Thanks!
Prerequisites
- Raspberry Pi 5 board with Raspberry Pi OS (or any other compatible operating system) installed and configured.
- For the best possible performance, check out how to Turbocharge Your Raspberry Pi 5: Booting from NVMe SSD.
- Stable internet connection for downloading software packages.
- Basic familiarity with the Raspberry Pi environment, including how to open a terminal and run commands.
Step 1: Prepare Your Raspberry Pi 5
Begin by ensuring that your Raspberry Pi 5 is up to date. Open a terminal or SSH session and run the following commands:
sudo apt update && sudo apt upgrade
This will update the package lists and upgrade any installed packages to their latest versions.
Step 2: Build Gpredict from Source Code
To start the Gpredict build process, we first need to install some prerequisites:
sudo apt install libtool intltool autoconf automake libcurl4-openssl-dev \
   pkg-config libglib2.0-dev libgtk-3-dev libgoocanvas-2.0-dev
Create a project directory into which the source will be downloaded:
mkdir ~/Projects
cd ~/Projects
Download the source code from the Gpredict repository on GitHub. We will use a shallow clone to speed things up and save space:
git clone --depth 1 https://github.com/csete/gpredict.git
Build the code:
cd ~/Projects/gpredict
./autogen.sh
./configure
make
sudo make install
Step 3: Verify Installation
To verify that Gpredict has been successfully installed, you can launch it from the desktop environment menu or from a terminal by typing:
gpredict
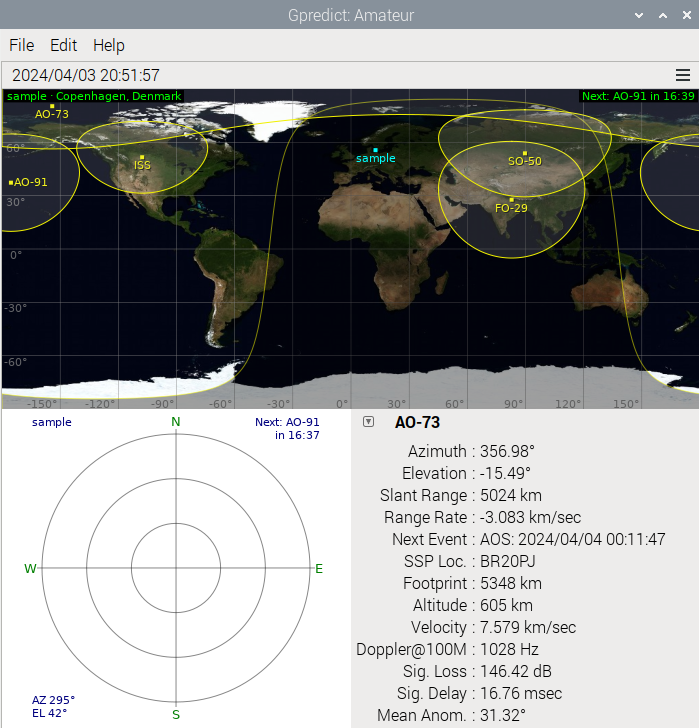
This should launch the Gpredict application:
Conclusion:
By following these steps, you’ve successfully installed Gpredict from its source code on your Raspberry Pi 5 system. You can now enjoy the full functionality of Gpredict, including satellite tracking, orbit prediction, and antenna control, tailored to your specific requirements. Experiment with the various features Gpredict offers and explore the wonders of satellite communication and observation. Happy tracking!