Siril is a powerful image processing tool tailored for astrophotography. Installing Siril offers a range of features including stacking multiple images, aligning and registering frames, performing noise reduction, and applying various enhancements to bring out the best in your astronomical images. Whether you’re capturing images of distant galaxies, nebulae, or the planets in our solar system, Siril provides the tools you need to enhance and analyse your astrophotography data.
In this guide, we’ll walk you through the process of installing Siril on your Raspberry Pi 5 using Flatpak, making it easier than ever to enhance your celestial captures.
This article describes a procedure to install software on a Raspberry Pi 5 with 8G RAM running Raspberry Pi OS (64-bit) (Debian v.12 bookworm) booted directly from a 1TB NVMe SSD PCIe drive. This procedure may work for other configurations, so please do let us know if it does, or tell us about any issues you faced and your configuration. Thanks!
Prerequisites
- Raspberry Pi 5 board with Raspberry Pi OS (or any other compatible operating system) installed and configured.
- For the best possible performance, check out how to Turbocharge Your Raspberry Pi 5: Booting from NVMe SSD.
- Stable internet connection for downloading software packages.
- Basic familiarity with the Raspberry Pi environment, including how to open a terminal and run commands.
Step 1: Install Flatpak
Flatpak is a distribution-agnostic packaging format that allows developers to create and distribute applications that run on various Linux distributions without worrying about dependencies or compatibility issues. Installing applications via Flatpak ensures that you get the latest version of the software along with all its dependencies, without impacting the stability of your system. If you haven’t already installed Flatpak on your system, you can do so with the following commands:
sudo apt update && sudo apt upgrade
sudo apt install flatpak
Step 2: Add Flathub Repository
Flathub is the official repository for Flatpak applications. Before installing Siril, you need to add the Flathub repository to your system. Enter the following command:
sudo flatpak remote-add --if-not-exists flathub https://dl.flathub.org/repo/flathub.flatpakrepo
This command adds the Flathub repository to Flatpak, allowing you to search for and install applications available on Flathub and where we can find the latest stable version of Siril.
Step 3: Install Siril
With Flatpak and the Flathub repository set up, installing Siril is as simple as running a single command. In your terminal, type:
sudo flatpak install flathub org.siril.Siril
This command will download and install the latest version of Siril from Flathub along with all necessary dependencies. Depending on your internet speed, this process may take a few minutes.
Step 4: Launch Siril
Once the installation is complete, you can launch Siril from your system’s application menu or by typing the following command in your terminal:
flatpak run org.siril.Siril
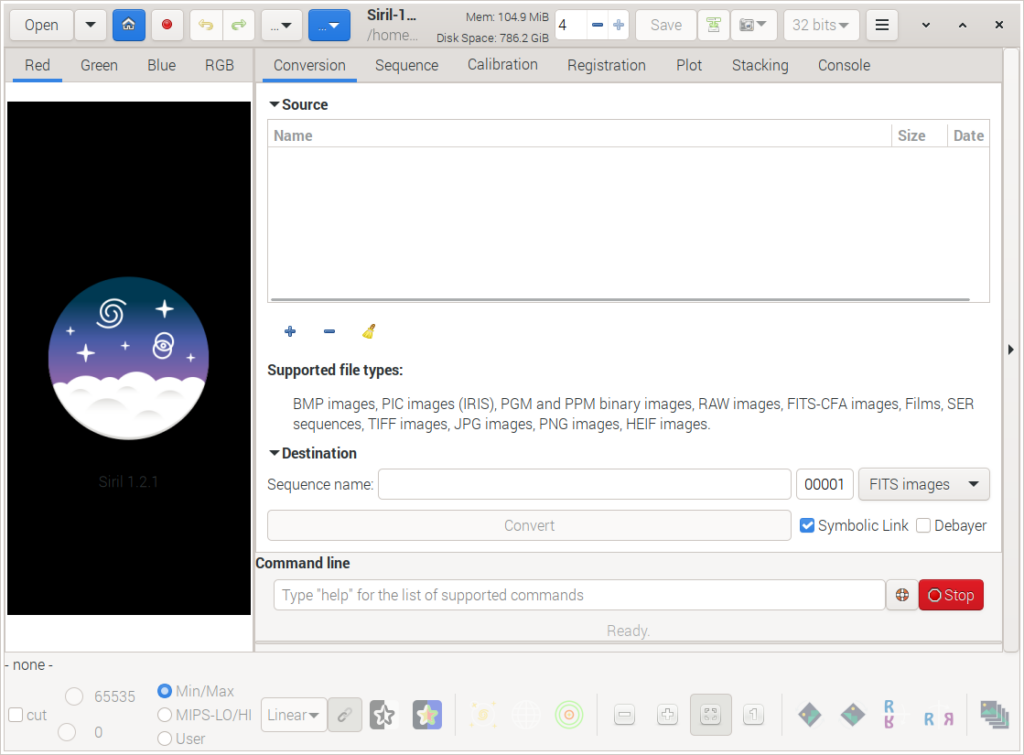
And there you have it! You’ve successfully installed Siril via Flatpak on your Raspberry Pi 5. Now you can start processing your astrophotography images with ease using the powerful tools provided by Siril.
Step 5: Updating Siril
The Siril team are regularly releasing updates. To see what is currently installed:
flatpak list
Find the latest Flatpak version:
flatpak remote-info --log flathub org.siril.Siril
Siril - Astronomical image processor

        ID: org.siril.Siril
       Ref: app/org.siril.Siril/aarch64/stable
      Arch: aarch64
    Branch: stable
   Version: 1.4.0-beta1
   License: GPL-3.0+
Collection: org.flathub.Stable
  Download: 59.2 MB
 Installed: 173.9 MB
   Runtime: org.gnome.Platform/aarch64/48
       Sdk: org.gnome.Sdk/aarch64/48

    Commit: 24a9aca07f943bc4532f20670e865f3fd9bc12334ffa8759a61d6d5c273d68da
    Parent: aa548bb5d8e16700fc0c7b3da3722bfec1a8e8f543c1f6500421d4d6c2986552
   Subject: Merge pull request #4 from flathub/new_release_1_4_0_beta1 (97039285                                                                                                                                                             327b)
      Date: 2025-04-27 17:33:58 +0000
Upgrade your Flatpak applications and dependencies:
sudo flatpak update
Conclusion
Astrophotography is a rewarding hobby that allows us to glimpse the beauty and complexity of the universe. With tools like Siril, enthusiasts can take their astrophotography to new heights by processing and enhancing their images with precision and ease. By installing Siril via Flatpak, you ensure that you always have access to the latest version of the software, hassle-free.
Your instructions worked great! Thank you.
Glad to hear, thanks for the feedback!