
Interest in astrophotography is on the increase and so is the Raspberry Pi 5, with its increased capabilities making it an ideal platform to experiment with deep-sky imaging. AstroDMx Capture is a cross-platform astronomical image capture application for astronomical imaging, developed by Nicola Amanda Mackin, that runs natively on numerous operating systems including the Raspberry Pi 5. In this guide, we’ll walk you through the steps to install AstroDMx Capture onto your Raspberry Pi 5, providing an ideal platform from which to embark on your deep-sky astrophotography journey.
This article describes a procedure to install software on a Raspberry Pi 5 with 8G RAM running Raspberry Pi OS (64-bit) (Debian v.12 bookworm) booted directly from a 1TB NVMe SSD PCIe drive. This procedure may work for other configurations, so please do let us know if it does, or tell us about any issues you faced and your configuration. Thanks!
Prerequisites
- Raspberry Pi 5 board with Raspberry Pi OS (or any other compatible operating system) installed and configured.
- For the best possible performance, check out how to Turbocharge Your Raspberry Pi 5: Booting from NVMe SSD.
- Stable internet connection for downloading software packages.
- Basic familiarity with the Raspberry Pi environment, including how to open a terminal and run commands.
- Compatible astrophotography devices. Take a look at the AstroDMx documentation for a complete list of supported hardware.
Step 1: Prepare Your Raspberry Pi 5
Before we begin the installation process, ensure that your Raspberry Pi 5 is up-to-date. Open a terminal window and run the following commands:
sudo apt update && sudo apt upgrade
These commands will update the package lists and upgrade installed packages to their latest versions.
Step 2: Download Latest Debian Package
Next, you’ll need to download the latest AstroDMx Capture Debian package. Visit the official AstroDMx download page for ARM Linux and select the ARM-64 (aarch64) package, or use the command to download it directly:
cd ~/Downloads
wget https://www.astrodmx-capture.org.uk/downloads/astrodmx/current/linux-arm/astrodmx-glibc-2.28_2.10.1_arm64.deb
Note, if the above link doesn’t work then it is likely that the version number has changed, so be sure to visit the official download page and correct the package name accordingly, then use the new package name also during the installation.
Step 3: Install the Debian Package
Once the Debian package is downloaded, navigate to the directory where it’s located, then use the command line to install it:
sudo dpkg -i astrodmx-glibc-2.28_2.10.1_arm64.deb
During the installation process, you may encounter dependencies that are not met. If so, run the following command to fix any missing dependencies:
sudo apt install -f
Step 4: First Launch of AstroDMx Capture
The Debian package installation adds an entry for AstroDMx Capture into the desktop environment menu. Launching from this menu may result in errors or nothing at all seems to launch, so you should first launch from the command line:
/opt/AstroDMx-Capture/bin/AstroDMx-Capture
This may give the following error:
/opt/AstroDMx-Capture/bin/AstroDMx-Capture: error while loading shared libraries: libpng16.so.16: ELF load command address/offset not page-aligned
or
Segmentation fault
This is due to an issue with the 4k kernel page-size required by some of AstroDMx’s dependencies, due to the default Raspberry Pi 5 using a 16k page-size. To fix this, the Raspberry Pi 5 can be instructed to use the common 64-bit kernel (kernel8.img) instead of the default (kernel_2712.img). To do this, we need to edit the boot configuration:
sudo nano /boot/firmware/config.txt
Add the kernel boot image directive (kernel=kernel8.img) to the top of the configuration file:
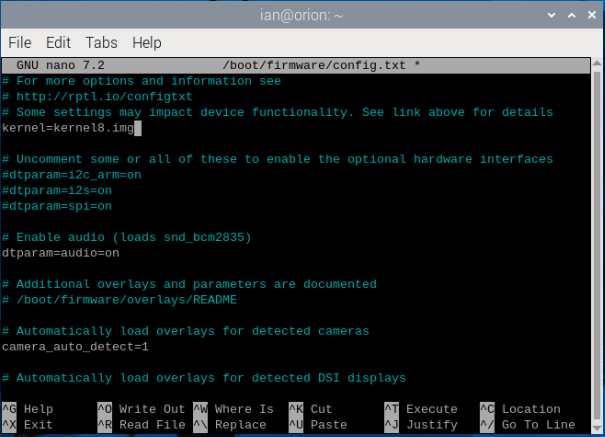
Save and exit with Control + O and Control + X.
Reboot the Raspberry Pi 5 to apply the configuration.
Once rebooted, try to launch the application from the command line again:
/opt/AstroDMx-Capture/bin/AstroDMx-Capture
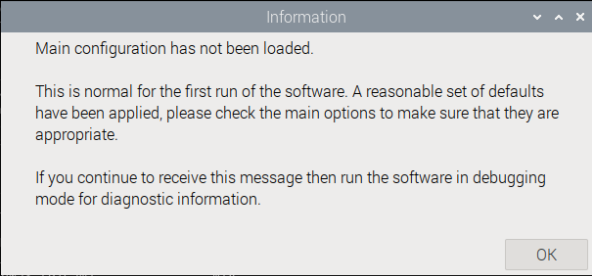
If all went well, you should now be presented with the first launch message:
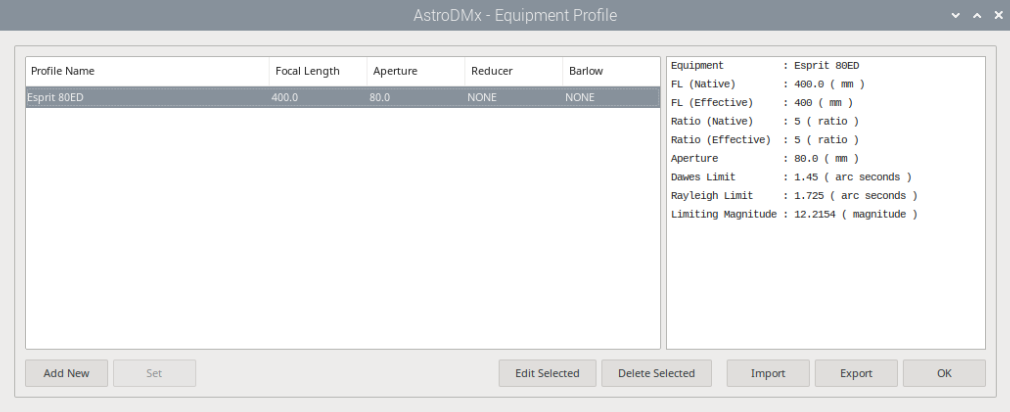
Step 5: Configure AstroDMx Capture
Upon launching AstroDMx Capture, you’ll be presented with various configuration options. Adjust settings such as camera type, exposure time, and image resolution according to your preferences and equipment setup.
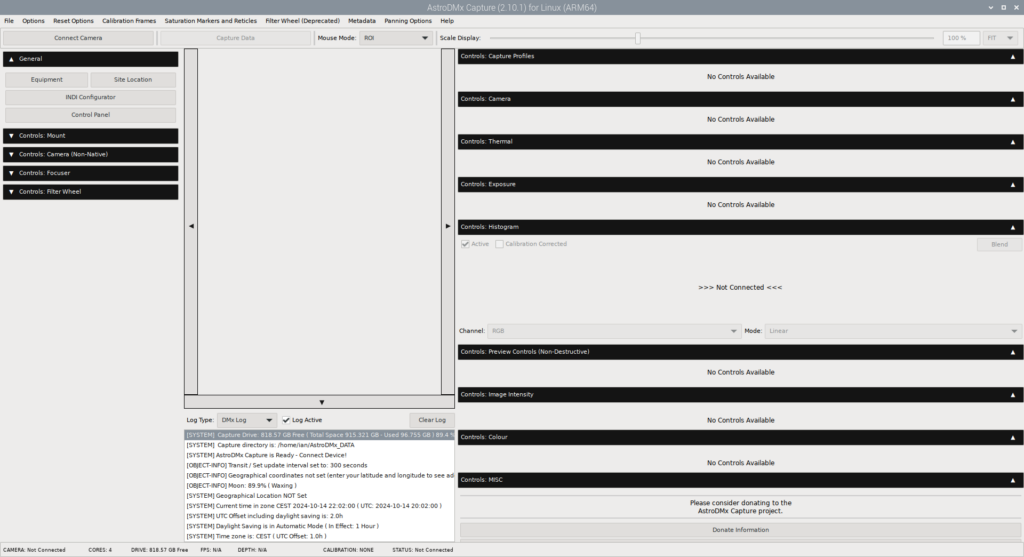
You can choose between native device support, or device access via a local or remotely installed Instrument Neutral Distributed Interface (INDI). If you haven’t done so already, check out our post Harnessing Astronomy with Raspberry Pi 5: Installing INDI for Stellar Exploration.
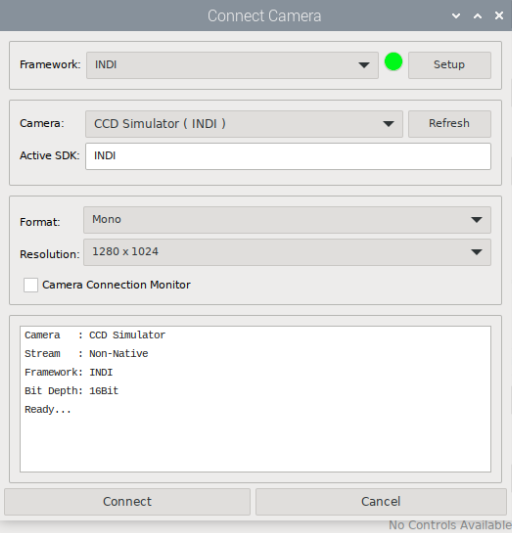
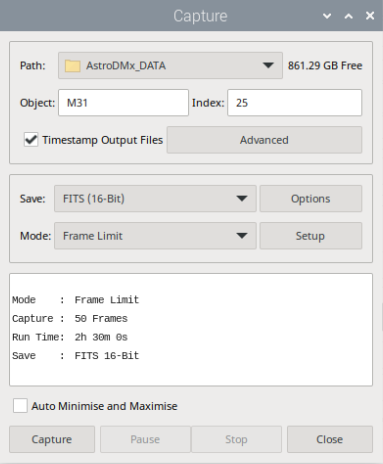
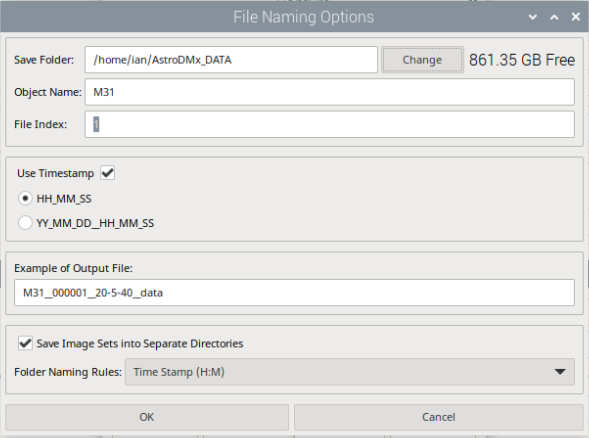
Step 6: Start Capturing Celestial Images
Once configured, AstroDMx Capture is ready to start capturing stunning images of the night sky with your Raspberry Pi 5. Connect your camera to the Raspberry Pi, aim it at the desired celestial object, and initiate the image capture process:
Conclusion:
Installing AstroDMx Capture on your Raspberry Pi 5 opens up a world of possibilities for astrophotography enthusiasts. By following the steps outlined in this guide, you can quickly set up AstroDMx Capture and start capturing breathtaking images of the cosmos. Whether you’re observing distant galaxies, nebulae, or planetary bodies, AstroDMx Capture provides the tools you need to explore the wonders of the universe from the comfort of your own backyard.