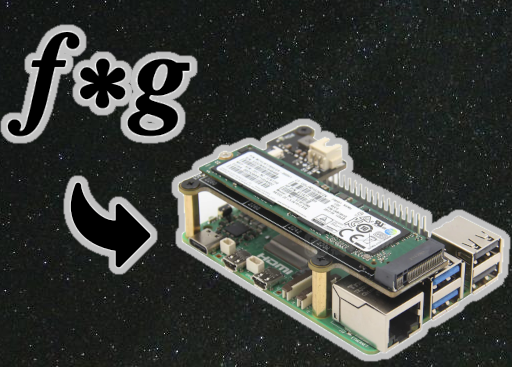
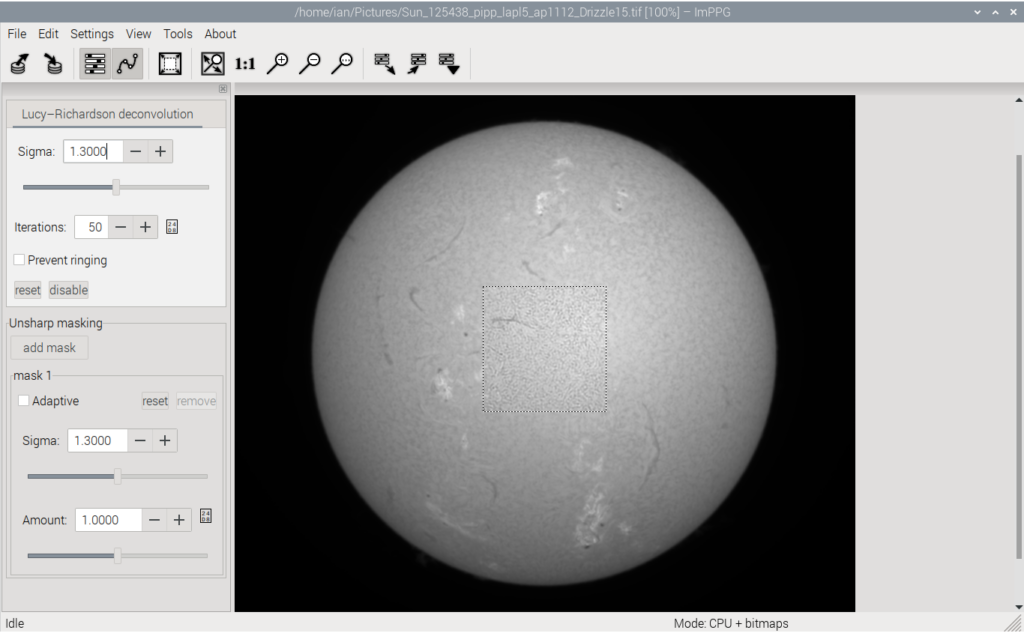
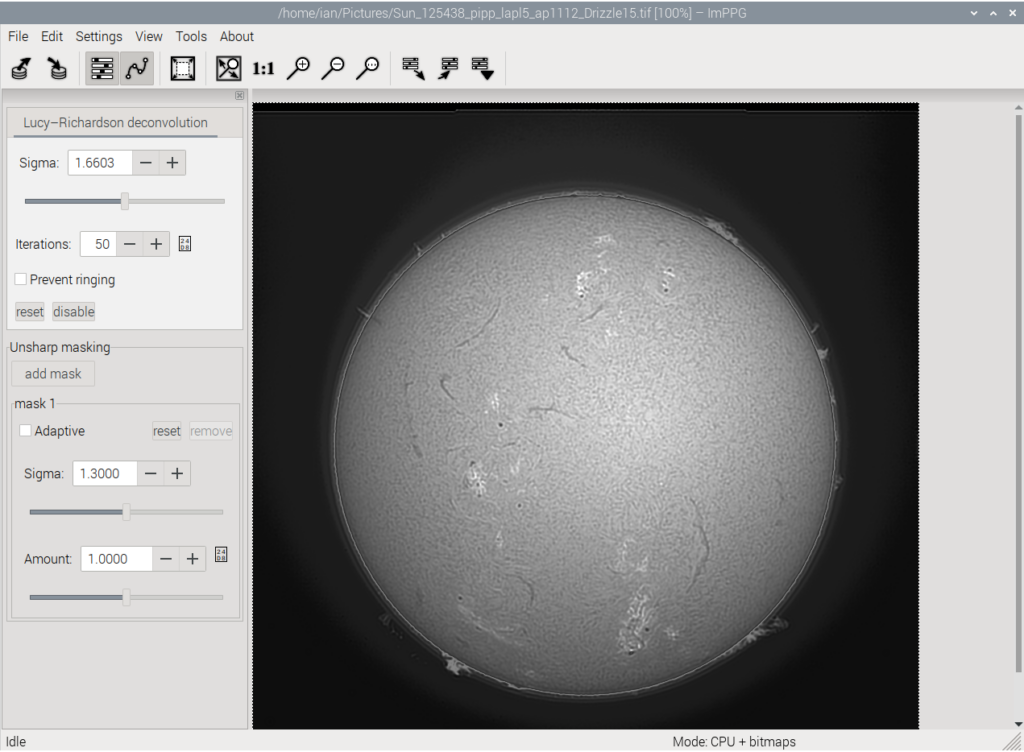
ImPPG (Image Post-Processor) is a powerful tool for processing images of the sun, the planets, and the moon. It offers a range of functions including Lucy-Richardson deconvolution, unsharp masking, brightness normalization and tone curve adjustment. It can apply previously specified processing settings to multiple images, and align an image sequence in preparation for time-lapse animation. Installing ImPPG on Raspberry Pi 5 makes this tool even more accessible for enthusiasts and hobbyists.
In this guide, we’ll explore how to compile and install ImPPG on the Raspberry Pi 5.
This article describes a procedure to install software on a Raspberry Pi 5 with 8G RAM running Raspberry Pi OS (64-bit) (Debian v.12 bookworm) booted directly from a 1TB NVMe SSD PCIe drive. This procedure may work for other configurations, so please do let us know if it does, or tell us about any issues you faced and your configuration. Thanks!
Prerequisites
- Raspberry Pi 5 board with Raspberry Pi OS (or any other compatible operating system) installed and configured.
- For the best possible performance, check out how to Turbocharge Your Raspberry Pi 5: Booting from NVMe SSD.
- Stable internet connection for downloading software packages.
- Basic familiarity with the Raspberry Pi environment, including how to open a terminal and run commands.
Step 1: Update Raspberry Pi 5
First things first, let’s make sure your Pi is up to date. Open a terminal window on your Pi or connect via SSH and run the following commands:
sudo apt update && sudo apt upgrade
Step 2: Install Required Dependencies
ImPPG relies on some libraries to work correctly. We’ll need to install these dependencies. In your terminal, type:
sudo apt install build-essential libboost-dev libboost-test-dev libwxgtk3.0-gtk3-dev libglew-dev pkg-config libccfits-dev libfreeimage-dev liblua5.3-dev
Step 3: Build ImPPG from Source Code
Now, let’s grab the ImPPG source code. You can clone it directly from the GitHub repository. First, create a project directory into which the source will be downloaded:
mkdir ~/Projects
cd ~/Projects
Clone the source code:
git clone https://github.com/GreatAttractor/imppg.git
Build the code:
mkdir -p ~/Projects/imppg/build
cd ~/Projects/imppg/build
cmake -G "Unix Makefiles" -DCMAKE_BUILD_TYPE=Release ../
make -j4
sudo make install
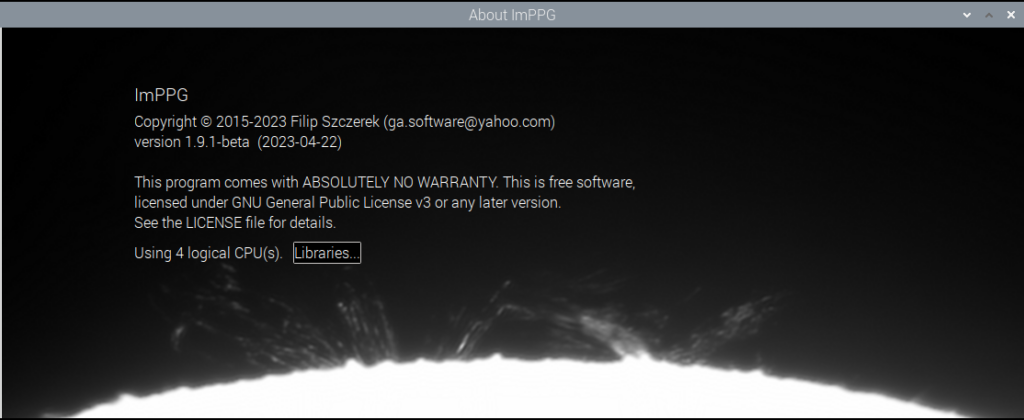
ImPPG is now compiled and installed.
Step 4: Launch ImPPG
Once the installation is complete, you can launch ImPPG from the Applications menu on your Raspberry Pi 5. Alternatively, you can launch it from the terminal by running the following command:
imppg

Step 5: Incorporate ImPPG into Your Image Processing Workflow
With ImPPG installed, you now have the tools required to enhance your image processing workflow and take your solar system imaging techniques to the next level:
Conclusion
Congratulations! You’ve successfully compiled and installed ImPPG on your Raspberry Pi 5. You now have a powerful tool at your fingertips to enhance your planetary and lunar astrophotography. Remember to refer to IMPPG’s documentation for detailed instructions on its usage and features. Happy stargazing and imaging!