The Raspberry Pi 5, with its improved processing power and capabilities, is a fantastic tool for hobbyists and enthusiasts who want to dive into the world of astrophotography. One of the essential tools for astrophotographers is GraXpert, an open-source software designed to remove gradients caused by light pollution and other factors from astrophotographs. If you’re using a Raspberry Pi 5 for your astrophotography projects, installing GraXpert can enhance your workflow and help you produce stunning images of the night sky.
What is GraXpert?
GraXpert is an open-source software tool that corrects brightness gradients in astrophotography images. A variety of factors, including light pollution, vignetting, or natural sky glow, can cause these gradients. GraXpert offers a simple yet effective interface that makes it easy to correct these issues, even for beginners.
Why Remove Gradients?
Before diving into the steps, it’s essential to understand why removing gradients is so important. Gradients can obscure faint celestial details, skew color balance, and make post-processing more difficult. By removing these unwanted brightness variations, you can achieve a more uniform background, making your astronomical targets stand out more clearly.
Start with GraXpert on Raspberry Pi 5.
In this guide, we’ll walk you through the process of installing and using GraXpert on your Raspberry Pi 5.
This article describes a procedure to install software on a Raspberry Pi 5 with 8G RAM running Raspberry Pi OS (64-bit) (Debian v.12 bookworm) booted directly from a 1TB NVMe SSD PCIe drive. This procedure may work for other configurations, so please do let us know if it does, or tell us about any issues you faced and your configuration. Thanks!
Prerequisites
- Raspberry Pi 5 board with Raspberry Pi OS (or any other compatible operating system) installed and configured.
- For the best possible performance, check out how to Turbocharge Your Raspberry Pi 5: Booting from NVMe SSD.
- Stable internet connection for downloading software packages.
- Basic familiarity with the Raspberry Pi environment, including how to open a terminal and run commands.
Step 1: Check Python Version
GraXpert is provided as a Python application. Fortunately, Raspberry Pi OS comes with Python pre-installed. To check the installed version of Python, run:
python --version
Python 3.11.2
Step 2: Get the GraXpert Source Code
Create a project directory and download the source into it:
mkdir ~/Projects
cd ~/Projects
Clone the source code from the official GraXpert repository on GitHub:
git clone https://github.com/Steffenhir/GraXpert
cd GraXpert
Step 3: Setting Up a Python Virtual Environment
A virtual environment allows you to create an isolated space for your Python projects, preventing package conflicts. Navigate to your project directory and create a virtual environment:
python -m venv graxpert-env
Step 4: Activating the Virtual Environment
We activate the virtual environment as follows:
cd ~/Projects/GraXpert
source graxpert-env/bin/activate
Your terminal prompt will change to indicate that the virtual environment is active. You can now install packages within this environment without affecting the global Python installation.
Step 5: Installing Required Packages
Now we can add the additional packages required by GraXpert into our virtual environment:
pip install -r requirements.txt
We also need the ONNX machine-learning model accelerator runtime:
pip install onnxruntime
Step 6: Finalising the GraXpert Installation
For security reasons, the GraXpert source code does not include the secrets file, so we need to create the file ourselves:
nano ./graxpert/s3_secrets.py
Then add the following key/value pairs, leaving the values empty:
endpoint = ""
ro_access_key = ""
ro_secret_key = ""
bucket_name = ""
bge_bucket_name = ""
denoise_bucket_name = ""
Close the editor and save the file.
Please note, these values provide the AWS S3 storage location for the downloadable AI models used by GraXpert when selecting AI based background extraction and noise reduction. Due to the extraordinary power demands, it is not recommended to use AI on the Raspberry Pi 5, and the default RBF interpolation method works just fine. If you really do want to try out the AI, and you have a strong enough power supply for your Raspberry Pi 5, then you can request the AWS S3 values on the DarkMatters Discord channel.
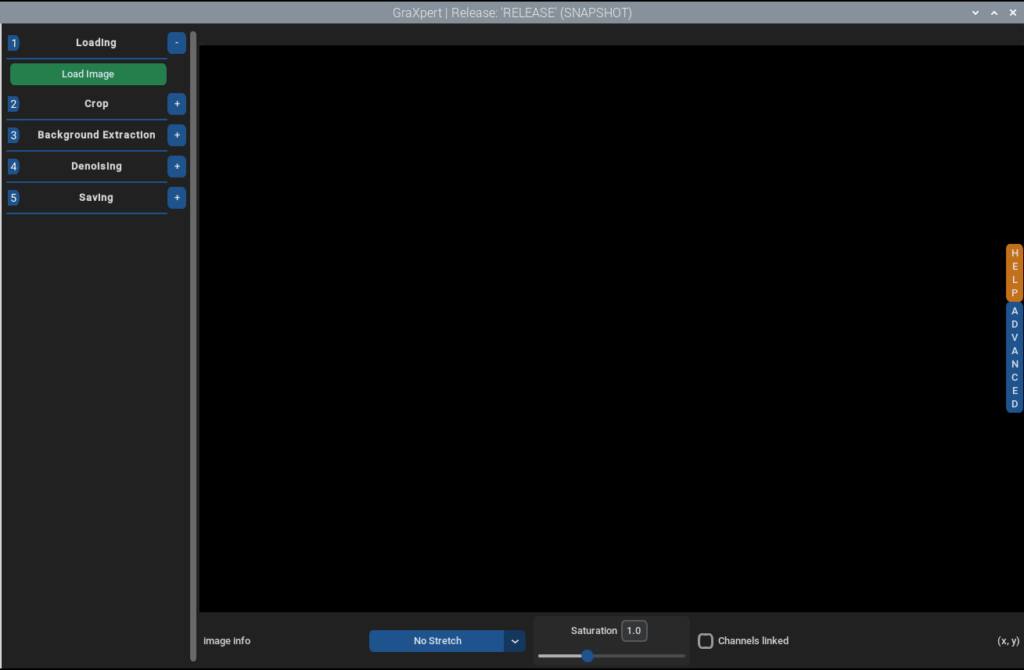
Step 7: Launch GraXpert
With the installation now complete, you can launch GraXpert from the virtual environment by typing:
python -m graxpert.main
Step 8: Deactivate the Virtual Environment
After closing GraXpert, the command line will indicate that the Python virtual environment is active. To deactivate the environment, simply run:
deactivate
Your terminal prompt will change to indicate that the project’s virtual environment is no longer active.
To relaunch GraXpert, repeat steps 4 and 7.
Conclusion
Installing GraXpert on a Raspberry Pi 5 is a straightforward process that opens up exciting possibilities for portable astrophotography setups. By following the steps outlined in this guide, you can harness the power of GraXpert to remove gradients and enhance your astrophotographs directly on your Raspberry Pi.
Whether you’re processing images in the field or at home, this setup offers a convenient and efficient solution for managing light pollution and other gradient issues. With your Raspberry Pi 5 and GraXpert, you’ll be well-equipped to produce stunning images of the night sky. Happy astrophotographing!