Astrophotography requires a seamless connection between your equipment—like mounts, cameras, and focusers—and the computer controlling them. For those using a Raspberry Pi 5, one common issue is establishing Bluetooth connections to various astrophotography tools over serial ports. Blueman, a Bluetooth manager, can help establish and manage these connections. This post will guide you through installing Blueman on your Raspberry Pi 5 and using it to connect your astrophotography gear to virtual serial ports.
Why Use Blueman?
Blueman is a user-friendly Bluetooth manager that simplifies the process of connecting and managing Bluetooth devices. It supports pairing, file sharing, and creating virtual serial ports. This functionality is ideal for astrophotography setups where multiple devices like motorized mounts, cameras, and focusers may need to communicate wirelessly.
Step 1: Update Your Raspberry Pi
Start by updating your Raspberry Pi to ensure you have the latest software packages. Open a terminal and run the following commands:
sudo apt update && sudo apt upgrade
This ensures that all packages, including Bluetooth-related tools, are up to date.
Step 2: Install Blueman
Next, you will need to install Blueman, a Bluetooth manager that provides a graphical interface for managing Bluetooth devices.
To install Blueman, use the following command:
sudo apt install blueman
Once installed, you can launch Blueman from the Raspberry Pi’s desktop menu. Navigate to Menu > Preferences > Bluetooth Manager or run the following command in the terminal:
blueman-manager
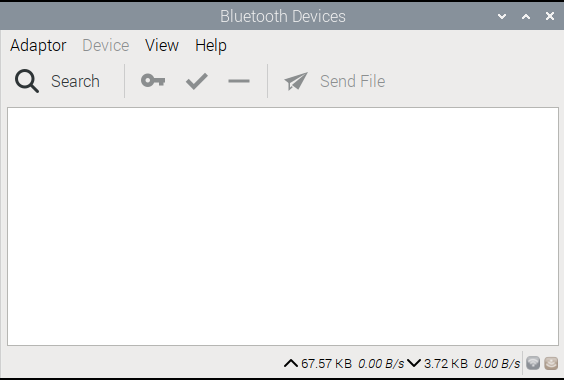
Step 3: Search For Bluetooth Devices
The Raspberry Pi 5 includes support for Bluetooth 5.0 BLE and is backwardly compatible with earlier Bluetooth versions. Devices enabled for Bluetooth Low Energy (BLE) will be immediately discoverable:
- Ensure your Bluetooth-enabled device (e.g., motorized mount or focuser) is in pairing mode.
- Click
Searchin the Blueman Manager to scan for available devices. - When your device appears in the list, right-click on it and select
Pair. - Follow any prompts that appear, such as entering a PIN if your device requires one.
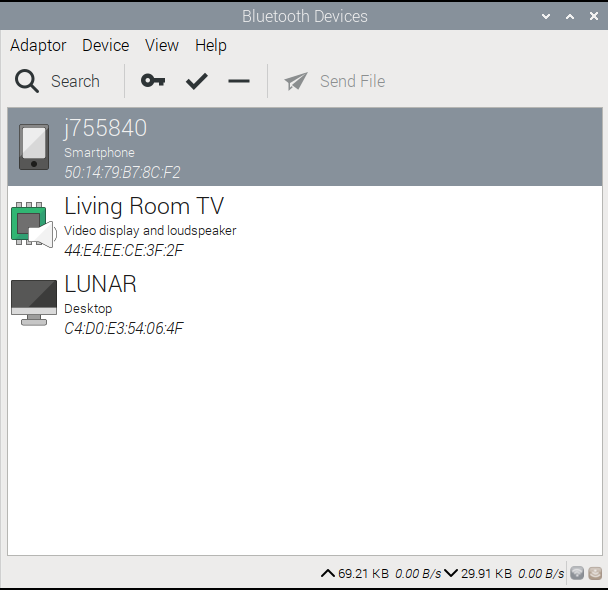
Does your Bluetooth device not appear when searched? Older “Classic” Bluetooth enabled devices need a little help to make then discoverable in the search. Use the following commands to first check if your device is discovered:
hcitool scan
Scanning ...
	C4:D0:E3:54:06:4F	LUNAR
	98:D3:31:FB:37:10	PA-EQDIR-1117
	F0:A3:B2:94:5D:EE	Kitchen TV
	50:14:79:B7:8C:F2	j755840
	44:E4:EE:CE:3F:2F Living Room TV
	98:D3:31:FB:1C:D6	MyFocuser2
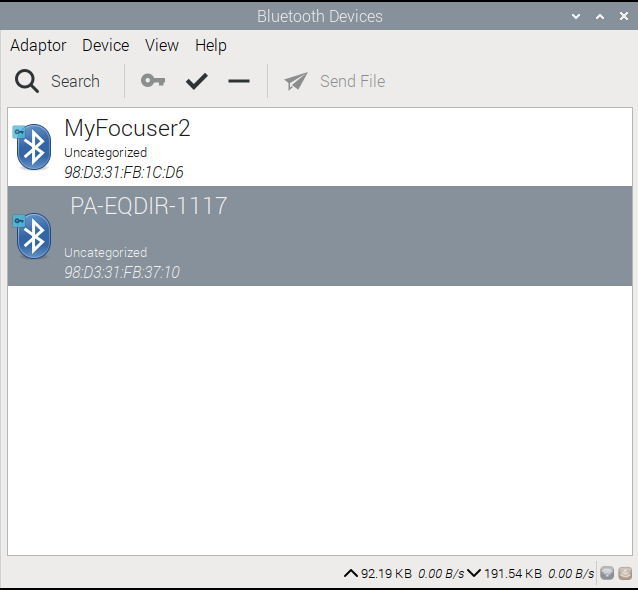
Two additional devices are found:
- A MyFocuser2 DIY focuser based on the HC-05 Bluetooth module using Classic 2.0.
- A Pegasus Astro EQDIRECT module using Classic 2.1
Use the bluetoothctl command interface to discover these devices:
sudo bluetoothctl
Agent registered
[bluetooth]#
At the prompt, start the scan:
scan on
Wait for the scan to cycle through all discovered devices:
Discovery started
[CHG] Controller 2C:CF:67:0C:5A:8F Discovering: yes
[NEW] Device 70:FF:F8:9D:29:CE 70-FF-F8-9D-29-CE
[NEW] Device 75:D4:94:6A:32:39 75-D4-94-6A-32-39
[NEW] Device 6A:FE:1D:E4:0E:D4 6A-FE-1D-E4-0E-D4
[NEW] Device 57:46:C3:E0:2B:2B 57-46-C3-E0-2B-2B
[NEW] Device 45:43:C5:F7:42:6B 45-43-C5-F7-42-6B
[NEW] Device 59:49:0A:C1:6D:5F 59-49-0A-C1-6D-5F
[NEW] Device 4D:A2:FC:56:39:01 4D-A2-FC-56-39-01
[NEW] Device 50:14:79:B7:8C:F2 j755840
[NEW] Device 41:F3:D2:C4:D8:73 41-F3-D2-C4-D8-73
[NEW] Device 5D:AD:F5:EE:4A:AB 5D-AD-F5-EE-4A-AB
[NEW] Device 98:D3:31:FB:37:10  PA-EQDIR-1117
[CHG] Device 50:14:79:B7:8C:F2 Class: 0x005a020c
[CHG] Device 50:14:79:B7:8C:F2 Icon: phone
[NEW] Device F0:A3:B2:94:5D:EE Kitchen TV
[NEW] Device 98:D3:31:FB:1C:D6 MyFocuser2
[NEW] Device C4:D0:E3:54:06:4F LUNAR
[CHG] Device 45:43:C5:F7:42:6B RSSI: -40
[CHG] Device 57:46:C3:E0:2B:2B RSSI: -31
[NEW] Device 68:24:E0:AD:F9:67 68-24-E0-AD-F9-67
[NEW] Device 4C:E9:8D:54:43:54 4C-E9-8D-54-43-54
Pair the device:
pair 98:D3:31:FB:1C:D6
Attempting to pair with 98:D3:31:FB:1C:D6
Request PIN code
[agent] Enter PIN code: 1234
[CHG] Device 98:D3:31:FB:1C:D6 Bonded: yes
[CHG] Device 98:D3:31:FB:1C:D6 Paired: yes
Pairing successful
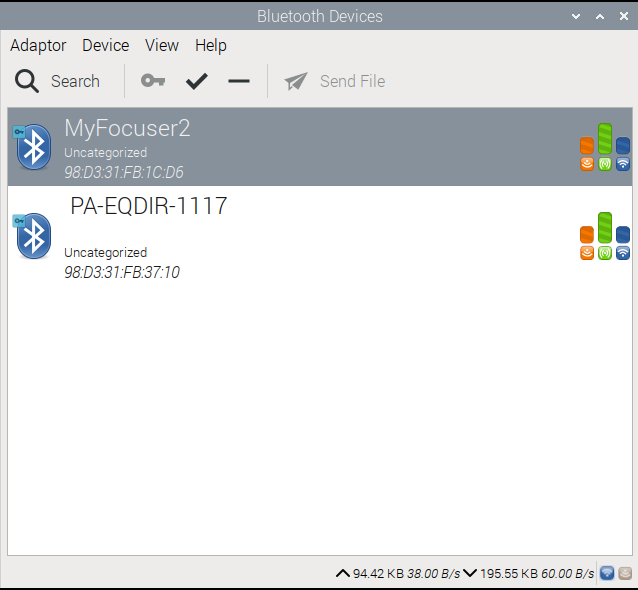
The classic device now appears in the device list and is paired:
Step 4: Create Virtual Serial Ports
Many astrophotography devices communicate over virtual serial ports via Bluetooth. To create this virtual port:
- Once paired, right-click on your device in the Blueman Manager and select Serial Port.
- Blueman will create a virtual serial port on your Raspberry Pi, typically located in
/dev/rfcommX, where “X” is the port number.
The Blueman window changes to show the connected device attributes:
Step 5: Connect Device to INDI Using the Virtual Serial Port
With your Bluetooth enabled astrophotography equipment now connected through a virtual serial port, it is now time to connect the equipment to INDI.
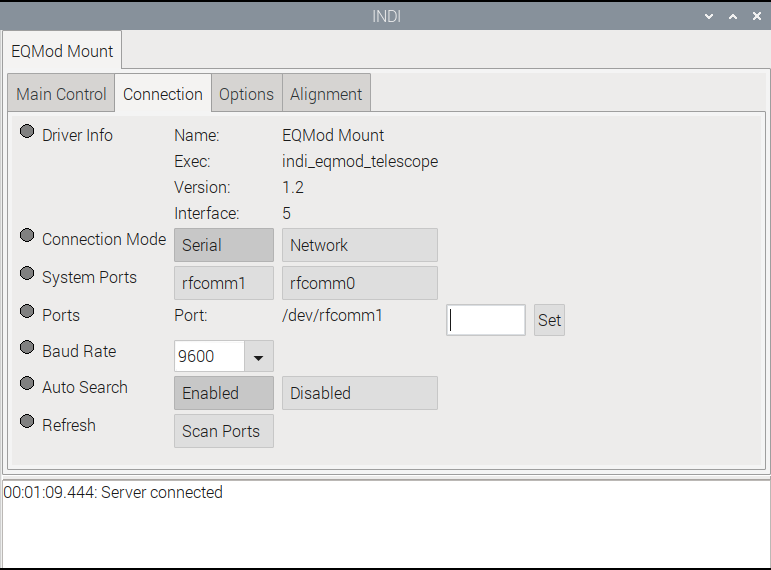
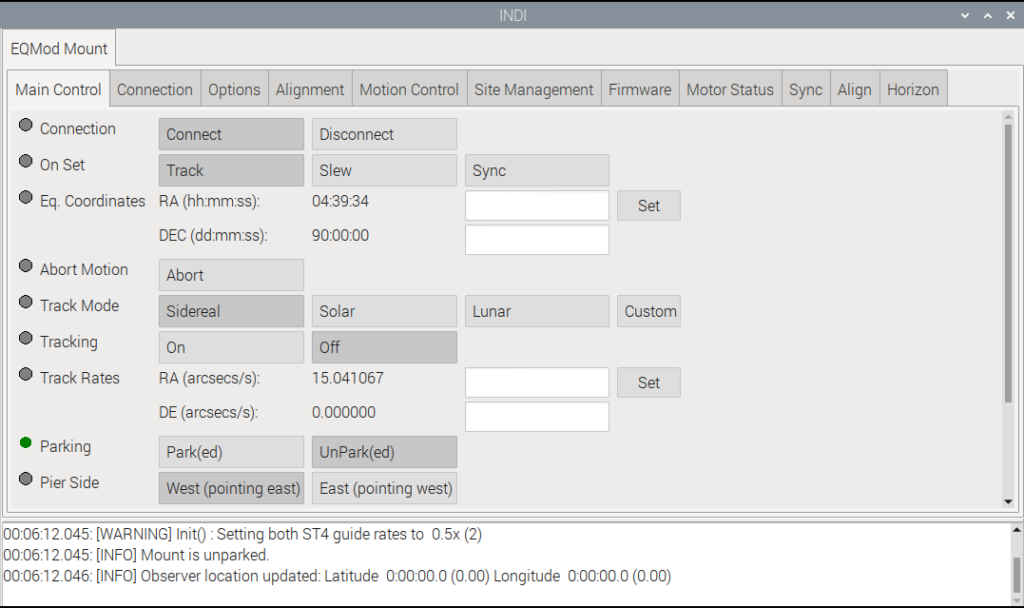
The configuration can be simplified even more by associating the Bluetooth device’s MAC address to a UDEV device mapping, so you don’t need to keep changing the /dev/rfcommX port definition every time the Bluetooth is connected. Check out our guide USB naming for INDI with Udev on Raspberry Pi 5 for more information.
Conclusion
Using Blueman to connect your Bluetooth-enabled astrophotography equipment to the Raspberry Pi 5 is a convenient and effective way to manage wireless devices. By following this guide, you can pair your devices, create virtual serial ports, and integrate them with software like INDI and KStars. Whether controlling a telescope mount or focusing system, this setup will provide you with a robust platform for your astrophotography endeavors.
Enjoy your wireless astrophotography sessions! Clear skies!
