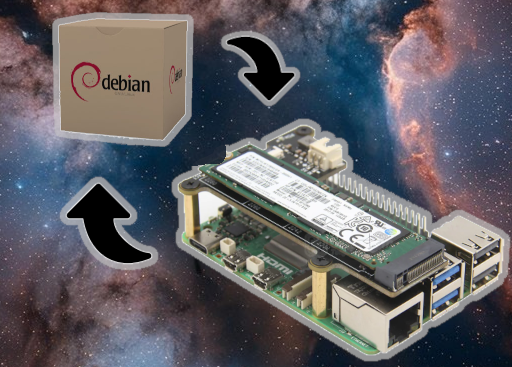
Many of the posts on this site provide guidance for compiling and installing astronomy and astrophotography software from source code, which can be a time consuming process. Once you compile and install the software, you may want to create your own custom package to simplify reinstalling or installing it onto another Raspberry Pi 5. CheckInstall is a great tool for the job. It allows you to easily package, install, and remove software on Debian-based systems, making Debian Packaging on a Raspberry Pi 5 straightforward.
This blog post will guide you through the process of making your own Debian package on your Raspberry Pi 5 using CheckInstall.
Why Use CheckInstall?
When you compile software from source, it often doesn’t package in a convenient way for installation and uninstallation. CheckInstall helps by creating a .deb file for your software. This file can be installed like any other package on your system, making it easier to manage the software using standard package management tools like dpkg or apt.
Prerequisites
Before we dive into the steps, make sure you have the following prerequisites:
- A Raspberry Pi 5 running Raspberry Pi OS.
- Basic knowledge of using the terminal and command-line tools.
- The source code of the software you want to package.
Step 1: Install CheckInstall
Raspberry Pi OS does not include CheckInstall by default, so we’ll first need to install it. Open a terminal window and run the following command:
sudo apt update
sudo apt install checkinstall
This will install the CheckInstall package and its dependencies.
Step 2: Compile and Install Your Software
Follow our guides to install a wide range of astronomy and astrophotography software onto your Raspberry Pi 5. Here are a few to get you going:
- Installing INDI on a Raspberry Pi 5
- Installing PHD2 on a Raspberry Pi 5
- Installing KStars and Ekos on Raspberry Pi 5
Step 3: Use CheckInstall to Create a Debian Package
With the software compiled and installed, it’s time to use CheckInstall to create the .deb package. Run CheckInstall from within the software directory where the make install process would have installed the software.
cd ~/Projects/your-package-name/tmp
sudo checkinstall
CheckInstall will prompt you with several options:
- Package name: It will suggest a default name for your package based on the folder name. You can change it if necessary.
- Version: CheckInstall will automatically pick the version of the software based on the current directory or source code. You can modify it if needed.
- Description: You can add a short description of the package here.
- Maintainer info: Enter your name and email.
- Installation directories: CheckInstall will automatically pick up the paths of installed files. Review them to ensure they’re correct.
Once you’ve reviewed the settings, press Enter to continue. CheckInstall will then generate the .deb file for your software.
Step 4: Install the Package
After CheckInstall finishes, you will have a .deb package ready to be installed. The command will save the package in the directory where you ran it by default.
To install the package, run:
sudo dpkg -i your-package-name.deb
This will install your software as if it were any other Debian package.
If you are planning to install the software on a different device then you must remember to first install the dependent packages for your software. The guides on this site always list the dependencies needed.
Step 5: Removing the Package
Since the software is now packaged, you can easily remove it using the standard package management tools.
To remove the software:
sudo apt remove your-package-name
If you want to completely purge the package, including configuration files, use:
sudo apt purge your-package-name
Conclusion
With CheckInstall, creating a .deb package on your Raspberry Pi 5 is an easy and efficient way to manage your software. Whether you’re working on a small personal project or need to distribute software across multiple machines, packaging your code as a Debian package simplifies installation, upgrading, and uninstallation.
Clear skies!
