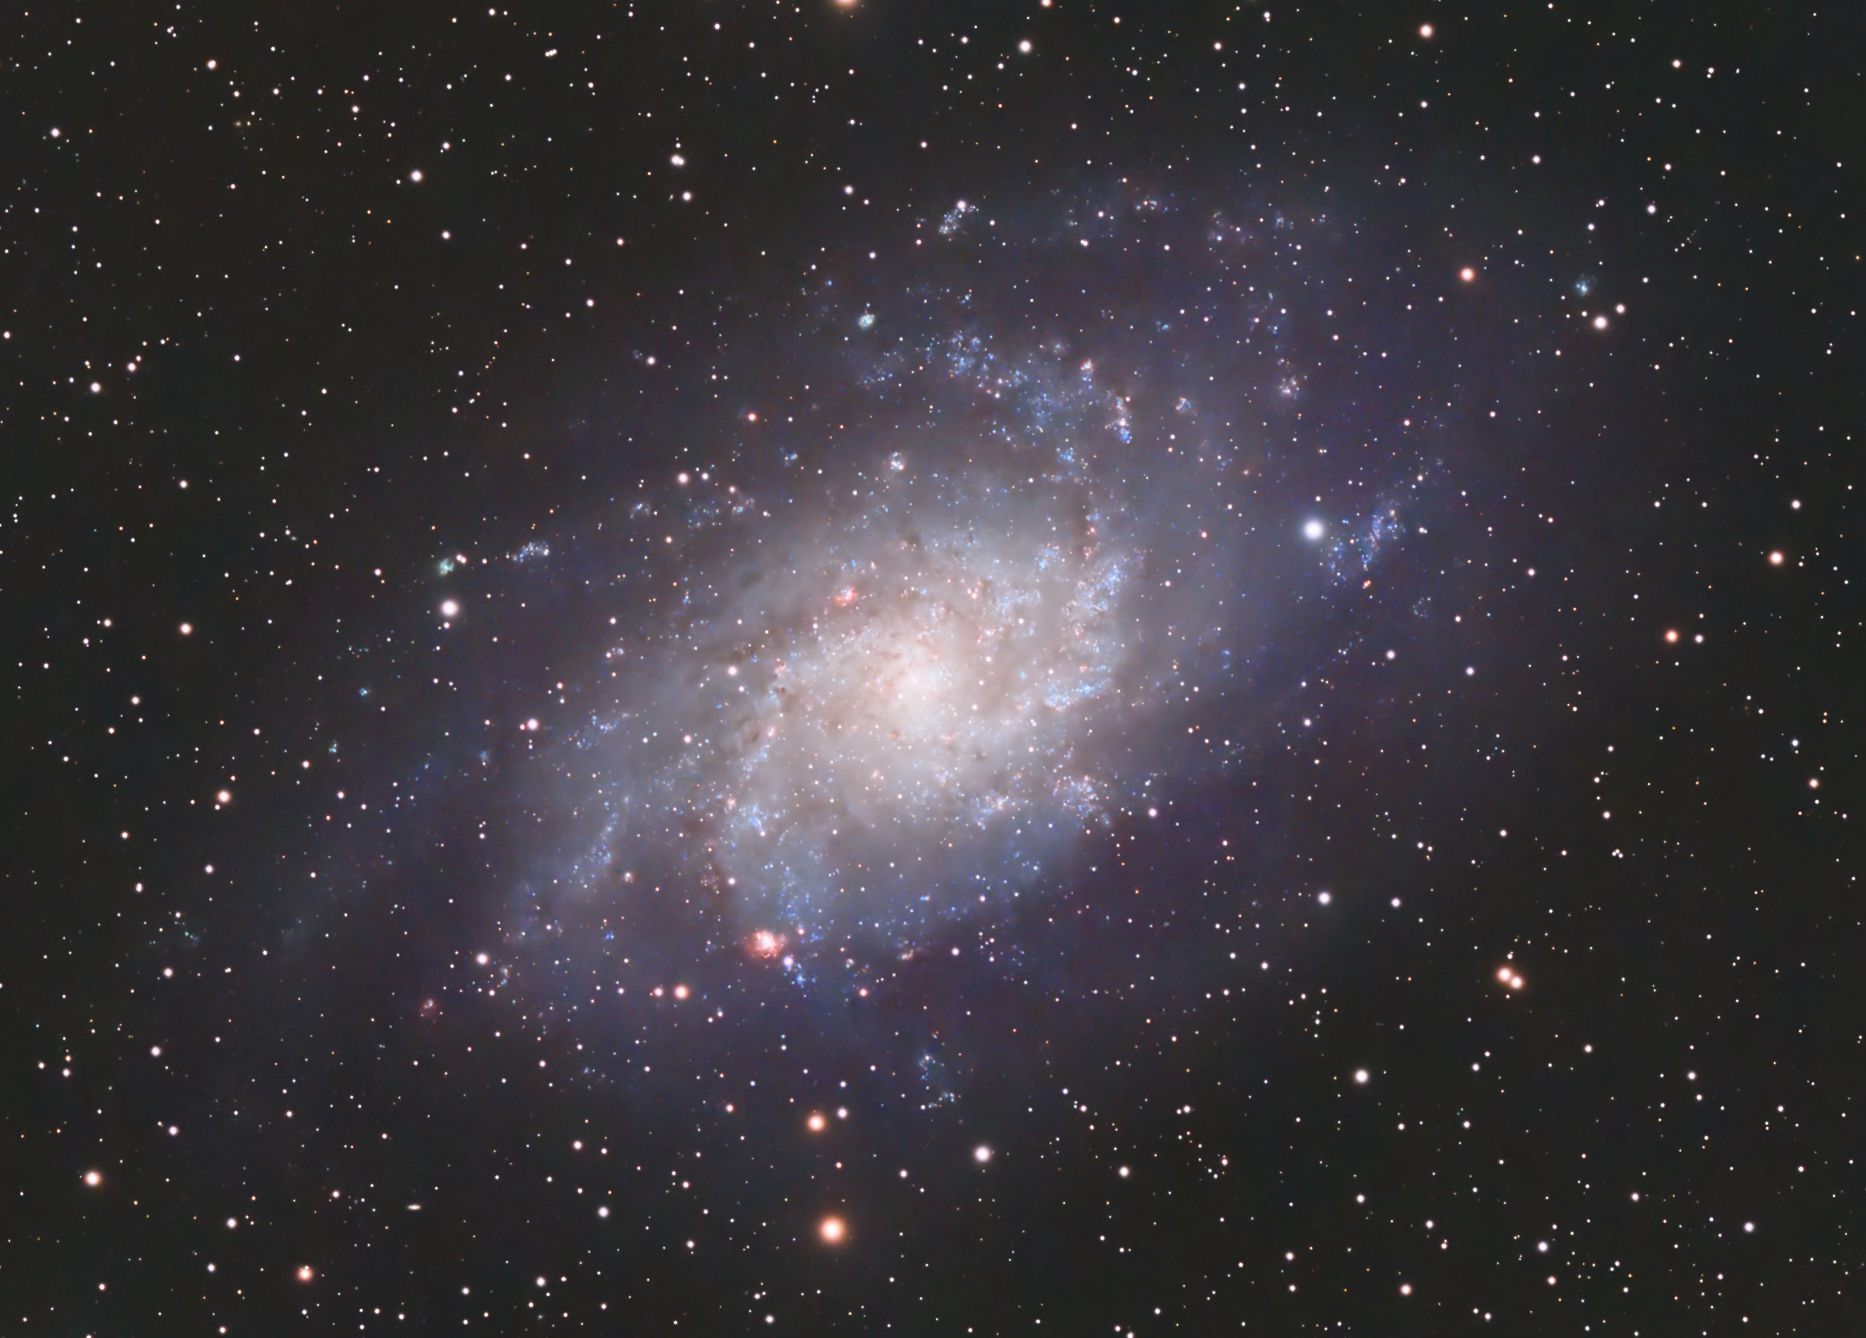
Capturing deep-sky objects like galaxies can be one of the most rewarding aspects of astrophotography. The Triangulum Galaxy (M33) stands out for its relatively close proximity and detailed spiral structure. In this post, I walk through the process to image M33 using an Esprit 80ED telescope, and ASI294MC camera.
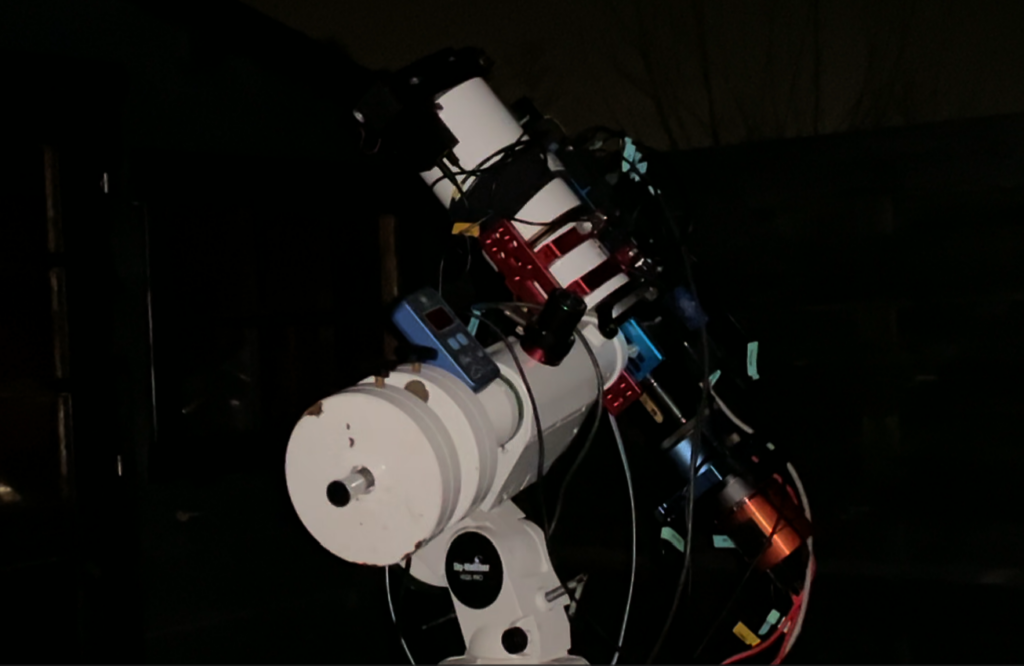
Equipment Overview
- Telescope: Sky-Watcher Esprit 80ED Apochromatic Triplet Refractor with stock doublet field flattener.
- Imaging Camera: ZWO ASI294MC Pro Cooled Color Camera
- Filter: Altair SkyTech LPRO-MAX 1.25″ CCD Filter
- Guide Scope: Sky-Watcher Evoguide 50ED
- Guide Camera: ZWO ASI120MM
- Mount: Sky-Watcher HEQ5 Pro Equatorial Mount
- Focuser: Pegasus Astro Focus Cube
- Rotator: Pegasus Astro Falcon Rotator
- Polar Alignment: QHYCCD PoleMaster
- Power Management: Pegasus Astro Ultimate Power Box v2
- Flat-panel: Deep Sky Dad FP1
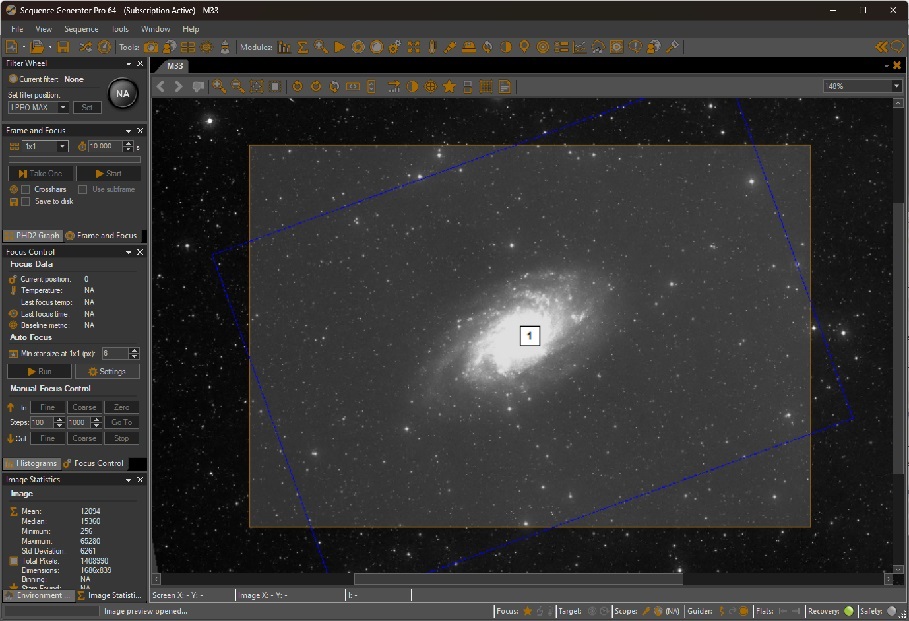
- Capture Software: Sequence Generator Pro (SGP)
- Guiding Software: PHD2
- Stacking Software: Astro Pixel Processor (APP)
- Processing Software: PixInsight with plugins for GraXpert, BlurXTerminator, and NoiseXTerminator.
The Esprit 80ED, with its 80mm aperture and high-quality optics, provides sharp, images perfect for capturing wide-field targets like M33. The ZWO ASI294MC Pro, a color CCD camera with a cooled sensor, is ideal for long-exposure astrophotography due to its low noise and high sensitivity.
The HEQ5 Pro equatorial mount provided stable tracking, essential for long-exposure astrophotography. I used Sequence Generator Pro (SGP) to automate the capture sequence, which made the imaging process smooth and efficient. PHD2 managed the guiding, utilizing the Sky-Watcher Evoguide 50ED as the guide scope and the ZWO ASI120MM as the guide camera.
Imaging Session Details
- Target: M33 (Triangulum Galaxy)
- Location: Broek op Langedijk, North Holland (Bortle 8-9)
- Total Exposure: 4 hours and 21 minutes
- Sub-exposures: 87 x 3 minutes
- Gain/Offset: 174 Gain / 30 Offset
- Cooling: -5°C
I selected 3-minute sub-exposures to balance between capturing enough signal from the galaxy and avoiding overexposure of the stars. The 87 sub-exposures were sufficient to reduce noise and reveal intricate details in the galaxy’s structure, including several extra-galactic nebulae.
Guiding and Data Acquisition
After setting up the telescope and mount, and ensuring proper polar alignment, I spent some time framing M33. The ASI294MC Pro’s large sensor and the 400mm focal length of the Esprit 80ED provided a wide field of view, allowing M33 to sit comfortably in the center of the frame.
Guiding was crucial to achieving sharp, long-exposure images. The Sky-Watcher Evoguide 50ED guide scope with ASI120MM guide camera and PHD2 handled the guiding, ensuring each exposure was free of trailing or drift, to produce nicely rounded stars, with periodic dithering between frames to further reduce noise.
Sequence Generator Pro (SGP) automated the imaging session. Its robust sequencing capabilities allowed me to automate the entire night’s capture sequence, including cooling the camera to -5°C, automating initial rotation and periodic re-focusing, and accurate positioning through plate solving.
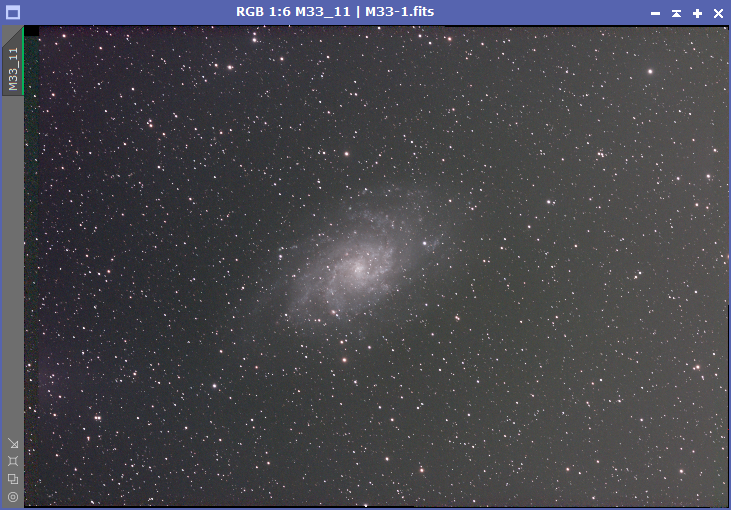
Stacking and Processing
With data collected, I stacked the 87 sub-exposures using Astro Pixel Processor (APP). APP is a powerful tool that not only aligns and stacks images but also handles light pollution removal, normalization, and integration.
1. Calibration
I started by loading the calibration frames, comprising darks, flats using an illuminated flat panel, and dark-flats. The low read noise of the ASI294MC Pro avoids the need for bias frames. SGP collected the calibration frames. We have a separate post discussing the use of calibration frames in astrophotography.
2. Registration and Stacking
APP automatically registered the stars and aligned the frames. The stacking process combined the 87 images, averaging out the noise and enhancing the signal. APP generates quality graphs for each stage of the stacking process, providing an opportunity to weed out any sub-exposures spoilt by a passing cloud or gust of wind.

Post-Processing with PixInsight
With a clean, stacked image in hand, I moved on to post-processing using PixInsight. This is where the magic happens—enhancing the details and colors of M33 while preserving the natural beauty of the galaxy.
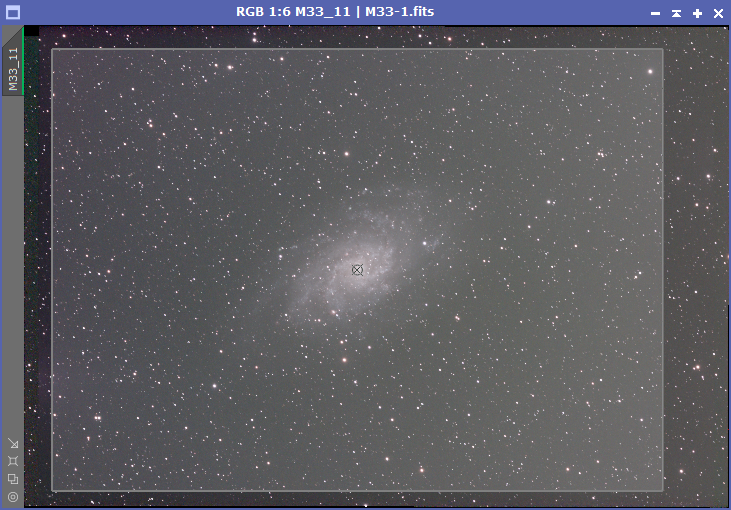
1. Dynamic Crop
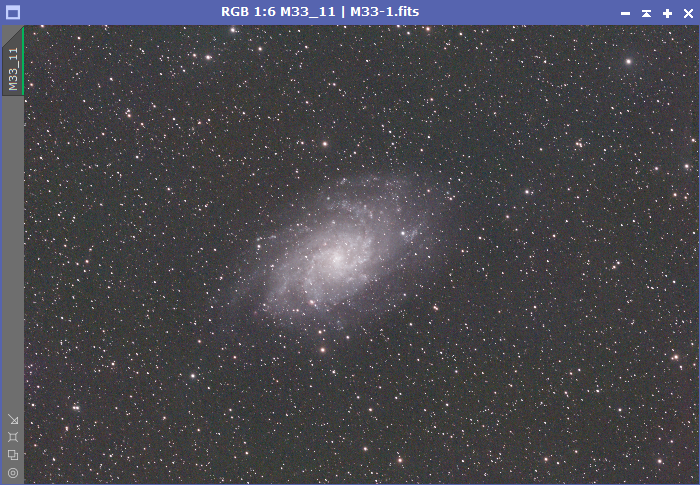
Post-processing as always begins with a Dynamic Crop. This removes the irregular black borders which are the unwanted side effect of the dithering performed during capture. It is crucial to perform this process at the very start, so that the black borders do not interfere with any subsequent image analysis and processing. Initial steps use linear (unstretched) data, so I need to stretch the image on screen with the automatic Screen Transfer Function (STF).
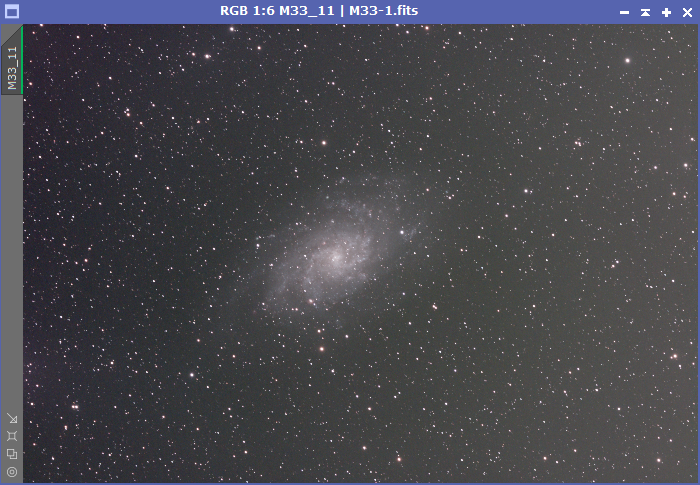
2. Light Pollution Removal
Although APP has a light pollution removal tool, I opted to use GraXpert for this step after the stacking process. GraXpert is excellent for removing complex gradients caused by light pollution. There is now a script for GraXpert, that can be used directly from within PixInsight.
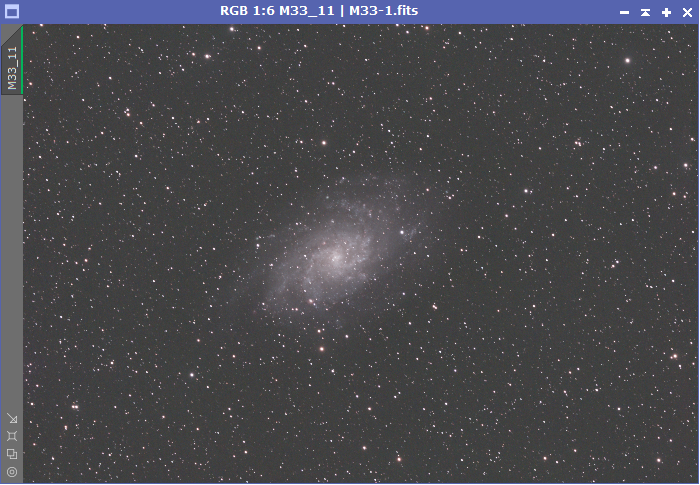
3. Dynamic Background Extraction (DBE)
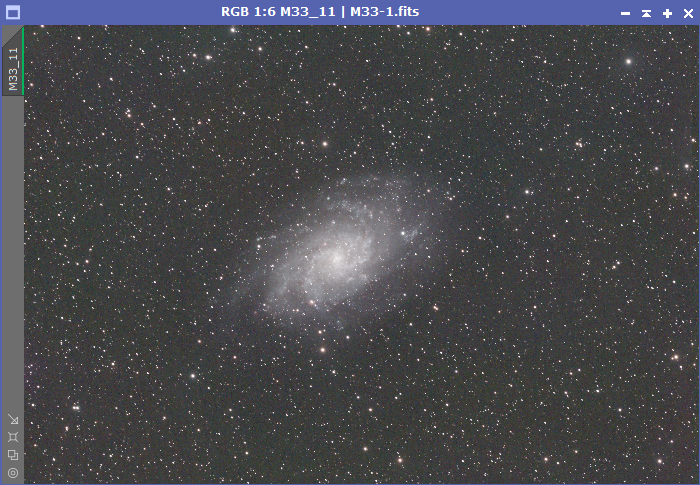
Even after using GraXpert, PixInsight’s DBE tool further refined the background, removing any residual gradients. I used automatic sample generation with a tolerance of 1.000, manually deleting any samples too close to the galaxy detail, with the target image corrected by subtraction.
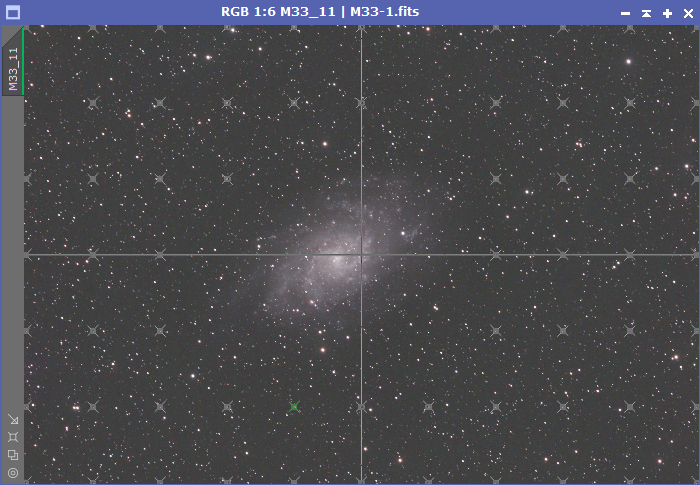

4. Plate Solving
The stacking process removes the target position information from the stacked frames, so the next step is to put that information back using the ImageSolver script. It is imperative at this point to set the image scale and pixel size correctly, which for my telescope and camera are 400mm and 4.63µm respectively. Adding the position data for M33 and the approximate date and time solves the image quickly. Once solved, I used the AnnotateImage script to place a grid and show the key features.

5. Deconvolving
The stars in my image did not appear as sharp as I would like due to the length of exposure and the general light distortions inevitably introduced into the my modest imaging train. So I used the superb BlurXTerminator process from RC-Astro to apply a Point Spread Function (PSF) that sharpens the stars using with AI algorithms.
6. White Balance Correction
I used the Photometric Color Calibration (PCC) tool with background neutralization ensuring the colors in M33 were accurate, taking into account star colours and galaxy structure. This process applies a white balance based on photometry measurements of the stars found in the image against reference star catalogues.
7. Histogram Stretch
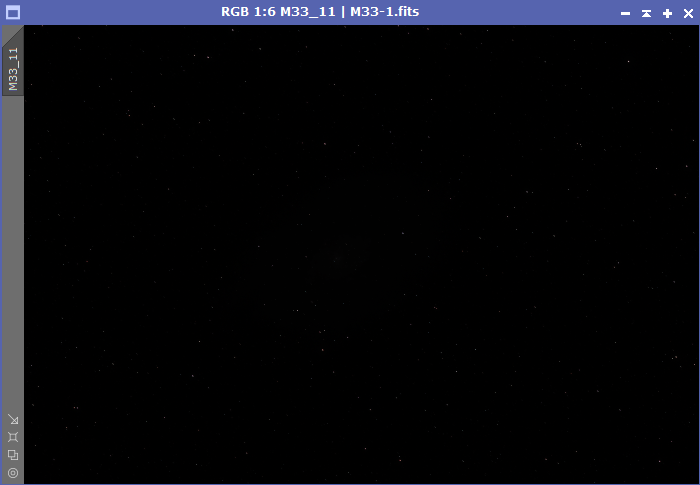
Until now, I was working in the linear phase, relying on STF to make the image visible. I then stretched the image using the Histogram Transformation tool to bring out the faint structures and brighten the galaxy without blowing out the stars. I do this incrementally, moving the mid point to the left at around half distance, iterating until the histogram tail reaches nearly right maximum, then repeating on the left side until a decent hump is visible.
8. Colour Enhancements
With the image now non-linear (stretched), I could then start the process of pulling up the colours using a combination of ColorSaturation and CurvesTransformation processes, initially across the entire image, and later over areas masked using a RangeMask.
9. Noise Reduction
With the colours now looking nicely balanced, the image was still quite grainy, so the final step was to apply some noise reduction. I used RC-Astro’s NoiseXTerminator for this, and it did a really nice job.
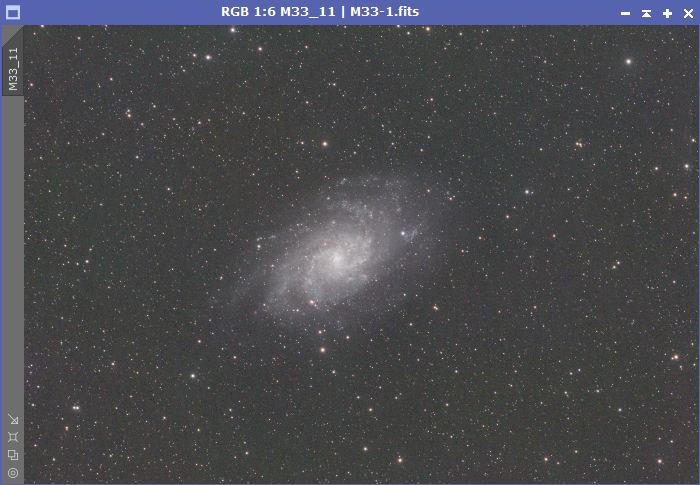
Final Image and Reflections
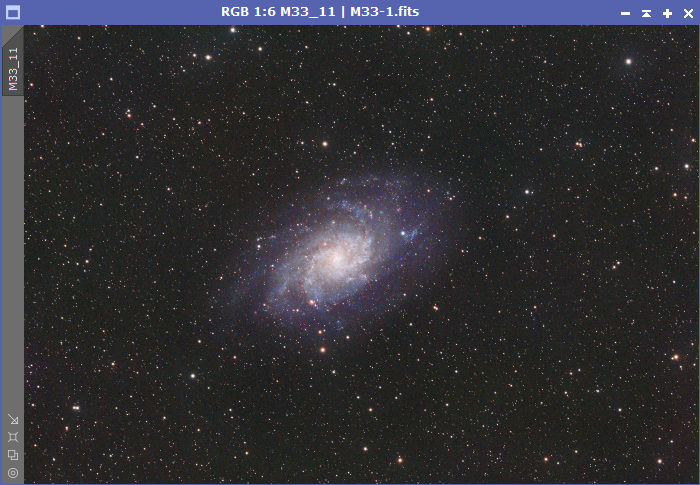
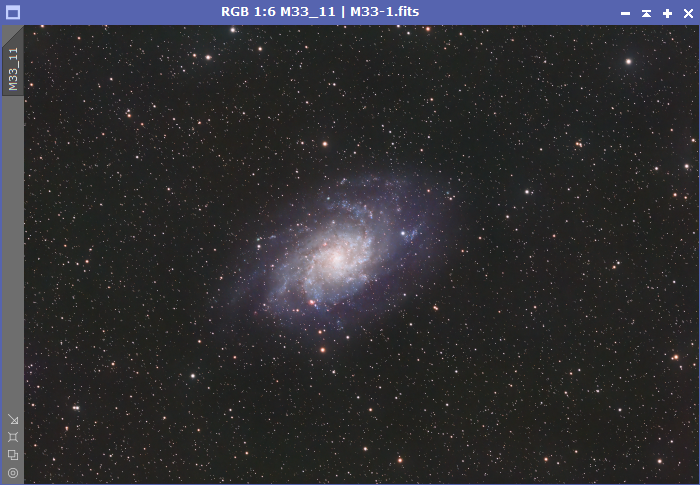
The final image of M33 captured the galaxy’s bright core, well-defined spiral arms, and numerous H-II regions scattered throughout. The Esprit 80ED provided excellent sharpness across the field, and the ASI294MC Pro’s cooled sensor allowed for deep integration with minimal noise.
Guiding with the Evoguide 50ED and ASI120MM through PHD2 ensured precise tracking, while the HEQ5 Pro mount provided the necessary stability. Removing light pollution gradients with GraXpert and enhancing the image in PixInsight resulted in a stunning final image that truly showcased the beauty of the Triangulum Galaxy.
This project demonstrated the importance of a good data acquisition strategy, meticulous stacking, and careful post-processing. With the right approach, even amateur astronomers with relatively modest equipment can capture breathtaking images of distant galaxies.
Clear skies!